Chapter 1: Lakera Guard Lab
1.1 Prerequisites
Before starting the lab, you need to obtain API keys for both the AI Guardrails service and the LLM provider.
1.1.1 Prepare Lakera API Key
- Go to https://www.lakera.ai/
- Click Log In button (top right corner)
- Login using your Gmail account
- In the main menu of Lakera SaaS management, navigate to API access
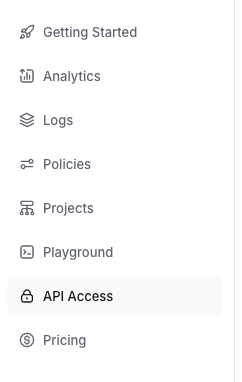
- Create a new API key and give it a name
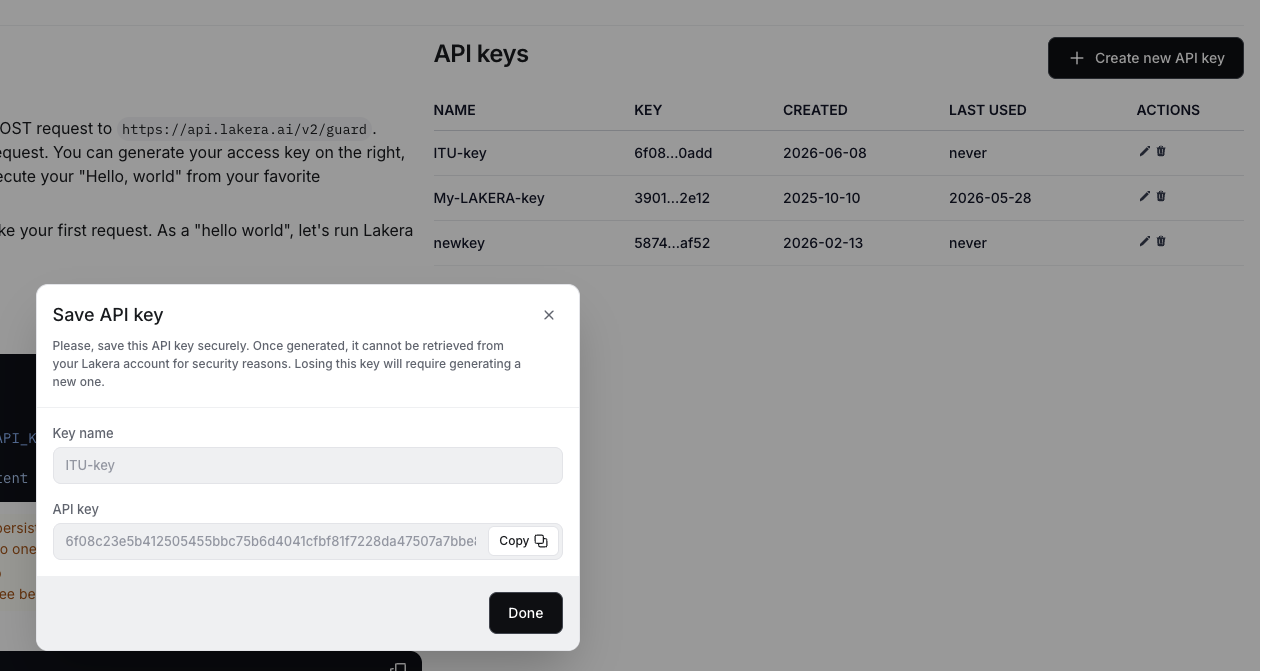
- Save the API key to your notepad or use
STUDENT-NOTES.txtprovided in your VSCode browser window
Important: You will need this API key for Lakera integration in your N8N workflow
1.1.2 Prepare OpenRouter API Key
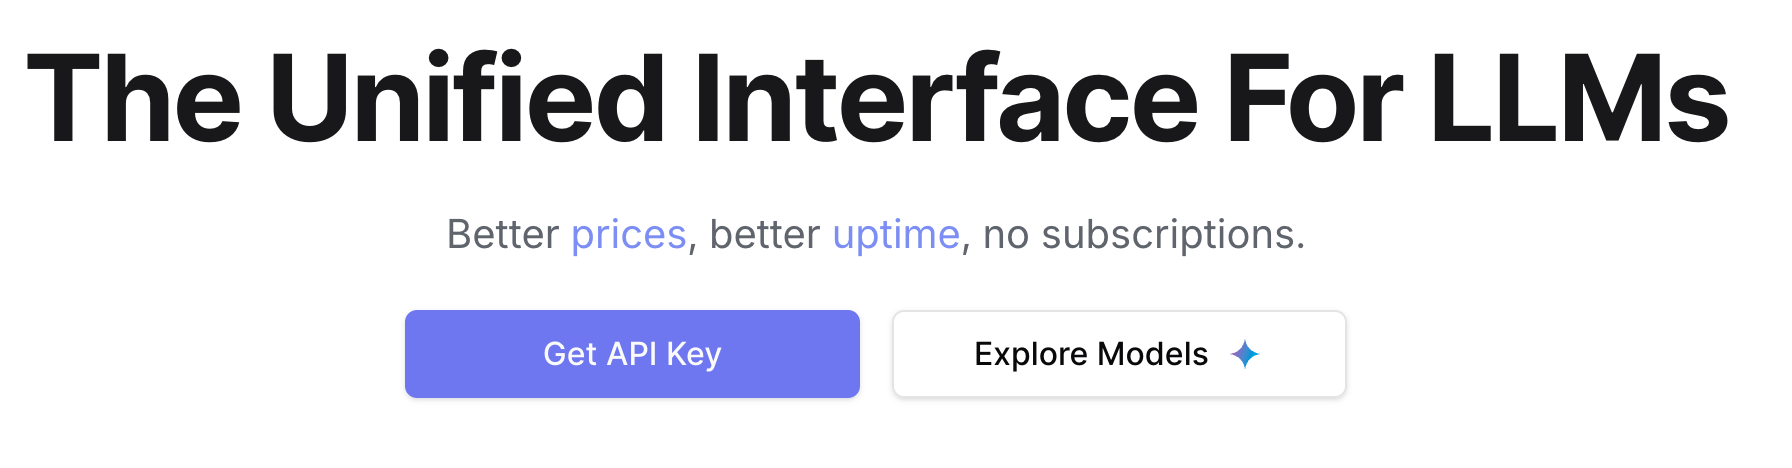
- Go to openrouter.ai and sign up using your Gmail account or create a new account
- Click Get API Key
- Click New Key (top right corner). Give your new key a name and set expiration date to 1 day. Click Create
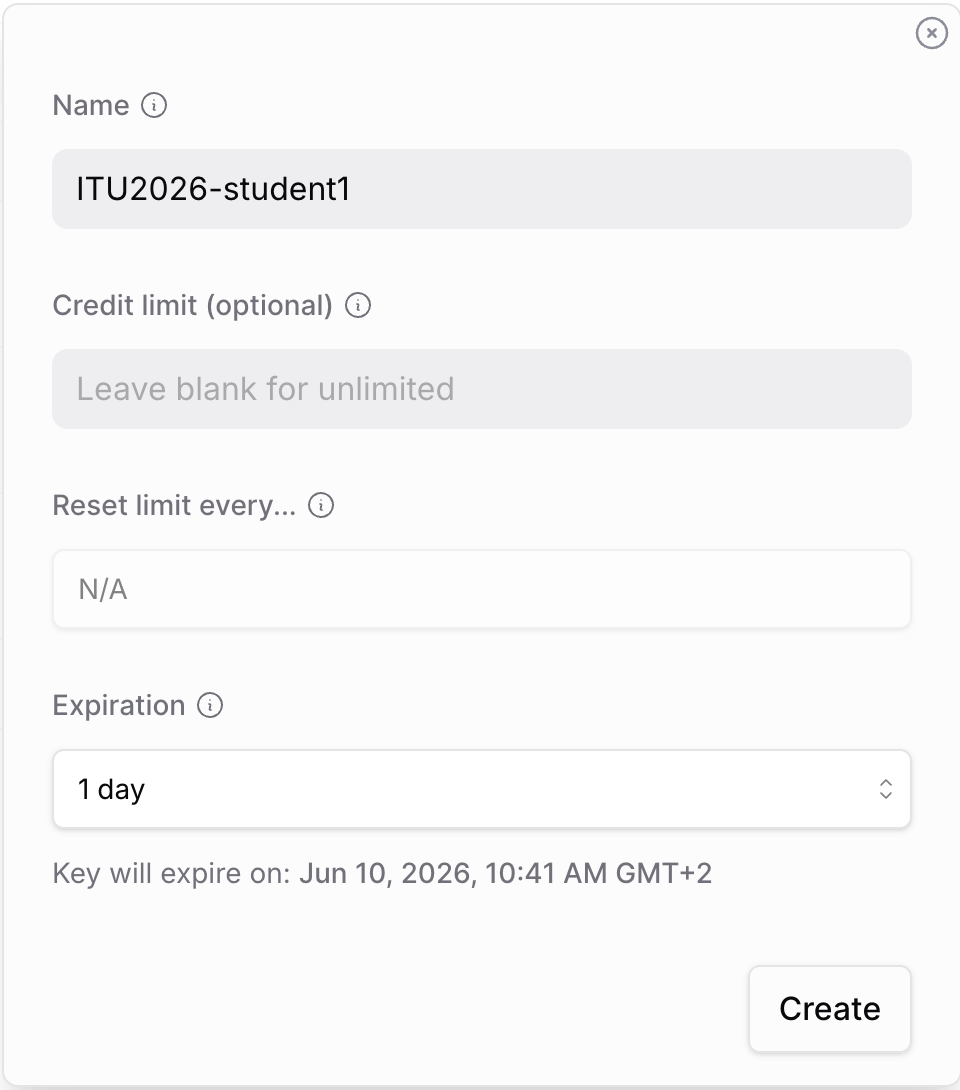
- Save the API key to your notepad or use
STUDENT-NOTES.txtprovided in your VSCode browser window
Important: You will need this API key for connecting your AI agent to the LLM model
1.2 Environment Setup
1.2.1 Launch N8N with GitHub Codespaces
- Log in to GitHub in your browser
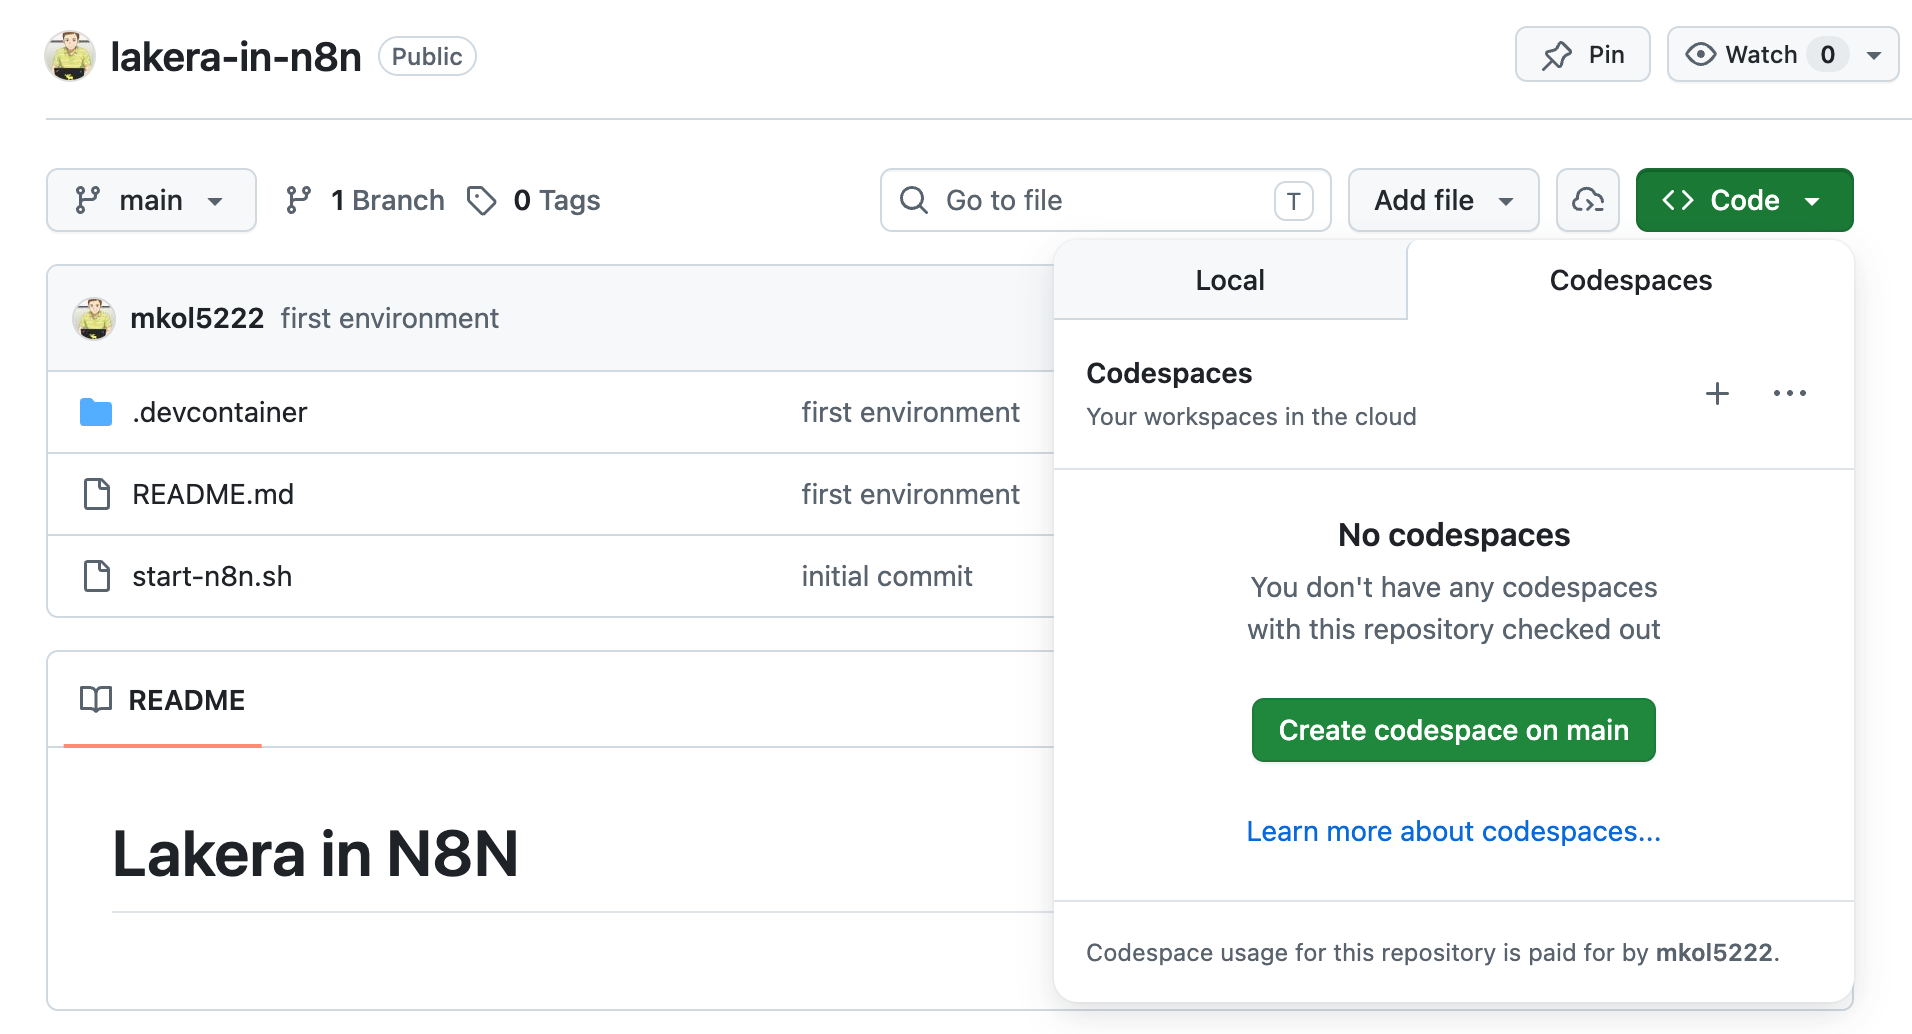
- Visit the repository: mkol5222/lakera-in-n8n
- Click the green Code button and select the Codespaces tab
- Click the green Create codespace on main button
- Be patient. VSCode will open in the browser. N8N deployment on a publicly accessible URL will be automatically created for you
This may take a few minutes
- Once Codespace is ready, run the startup script in terminal:
./start-n8n.sh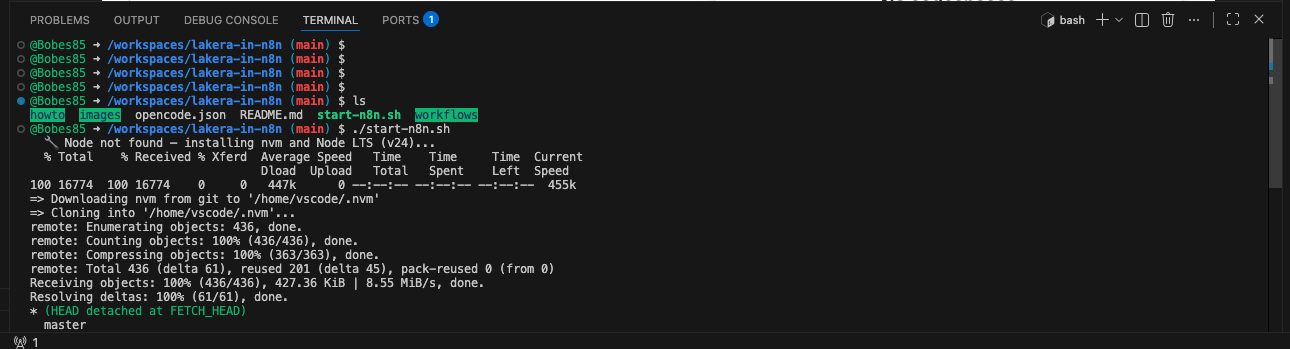
- When the provisioning script completes, open the newly created
N8N-ACCESS.mdfile to see the URL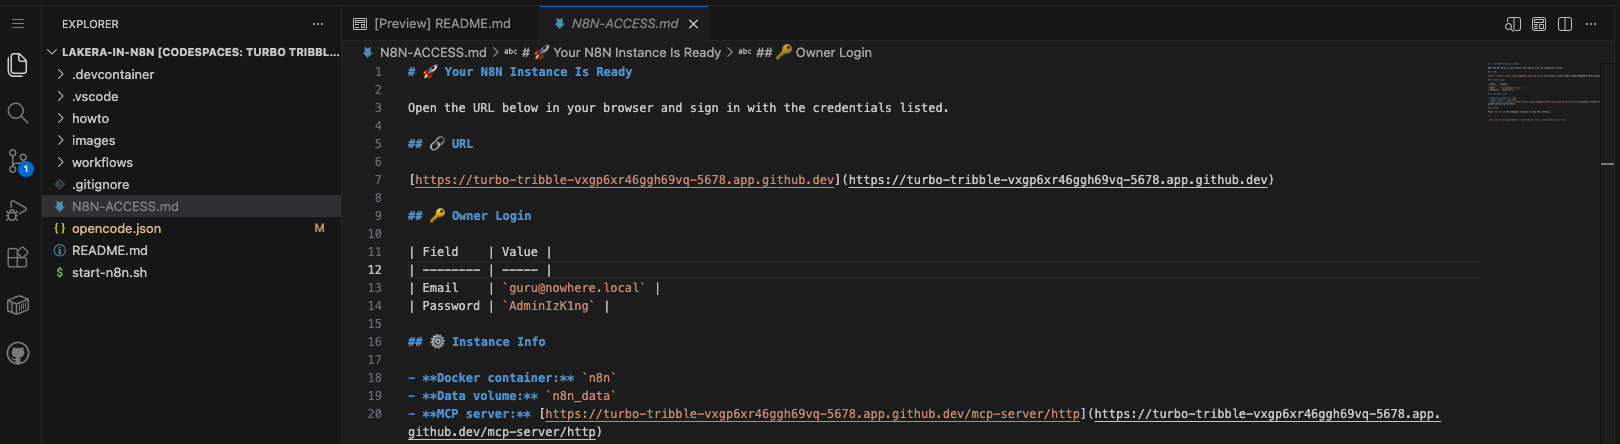
- Login to N8N with these credentials:
Field Value Email guru@nowhere.localPassword AdminIzk1ng - On the "Customize n8n" popup, click Get Started
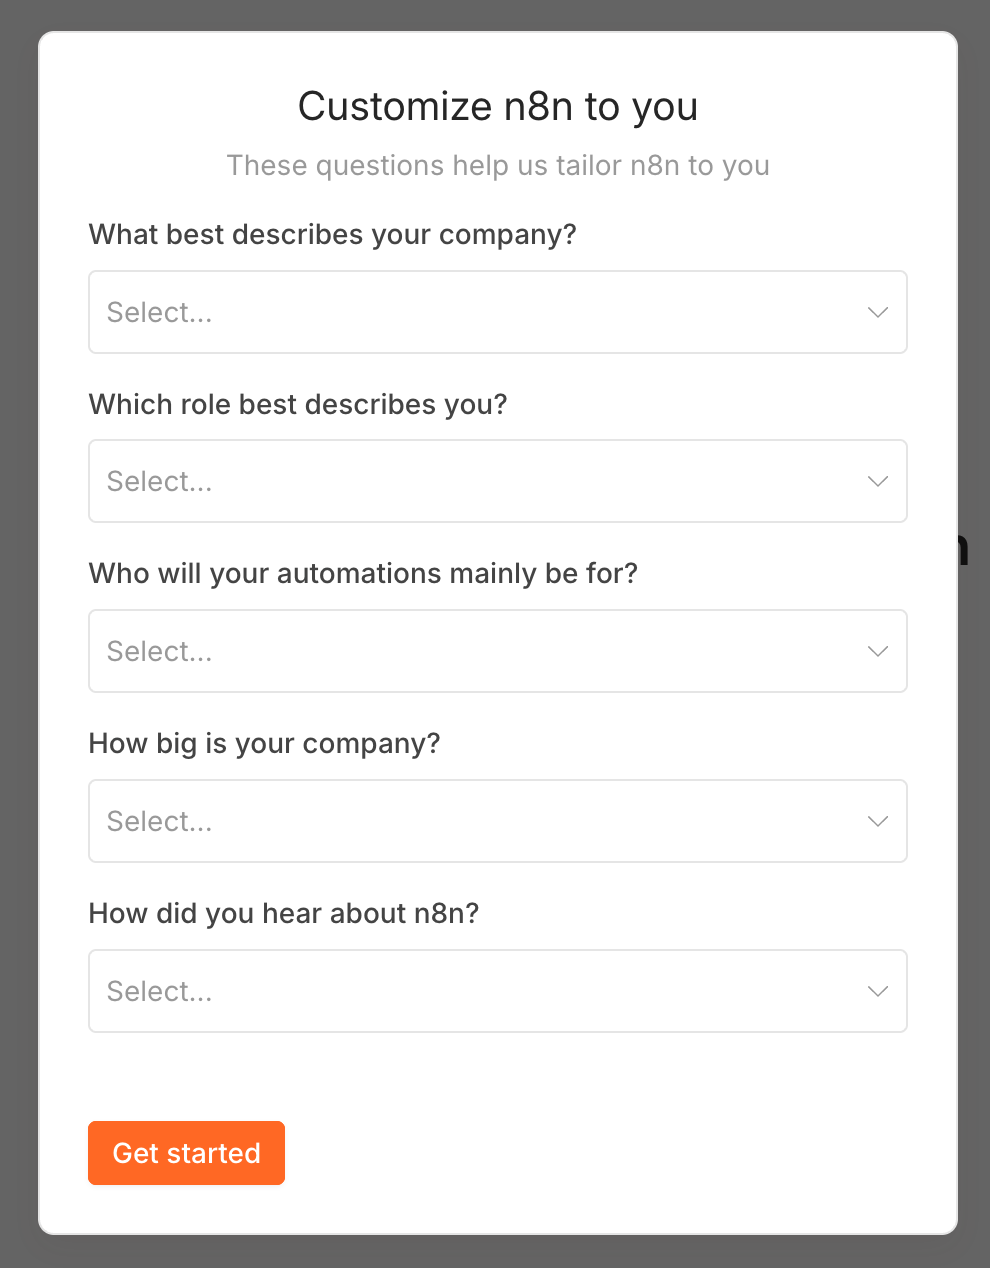
- On the next page, click Skip
1.2.2 Import Base Workflow
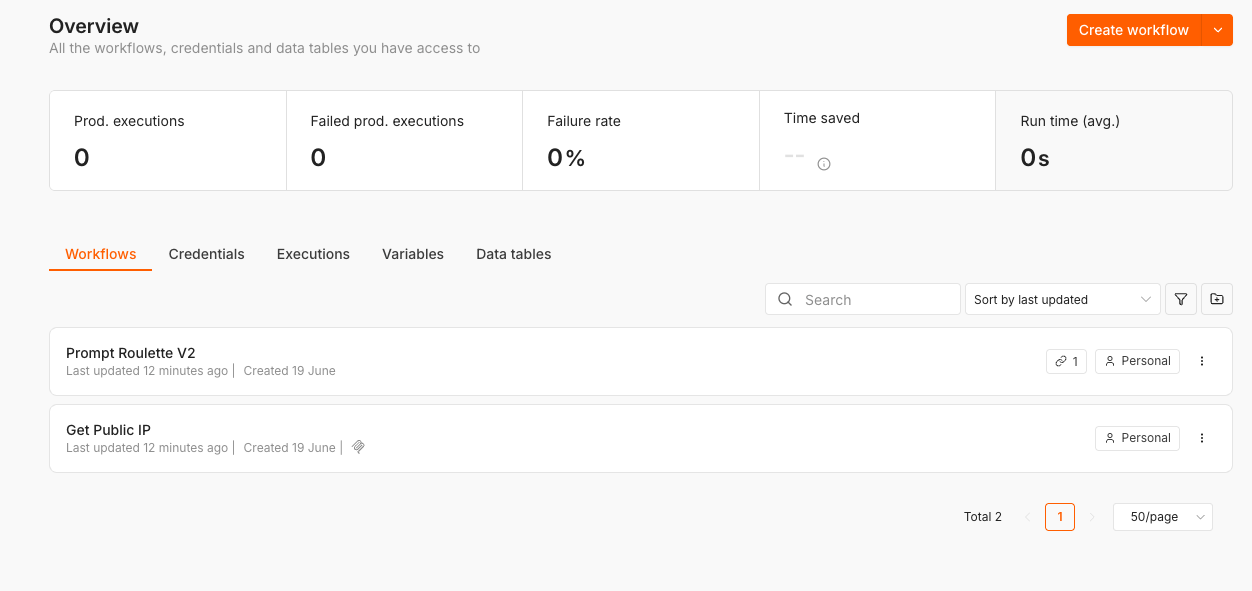
- Click Create Workflow button (top right corner)
- Click the three dots on the top right corner and select Import from URL
- Use this URL to import the basic AI agent workflow:
https://raw.githubusercontent.com/Bobes85/ITU2026/refs/heads/main/AI-agent.json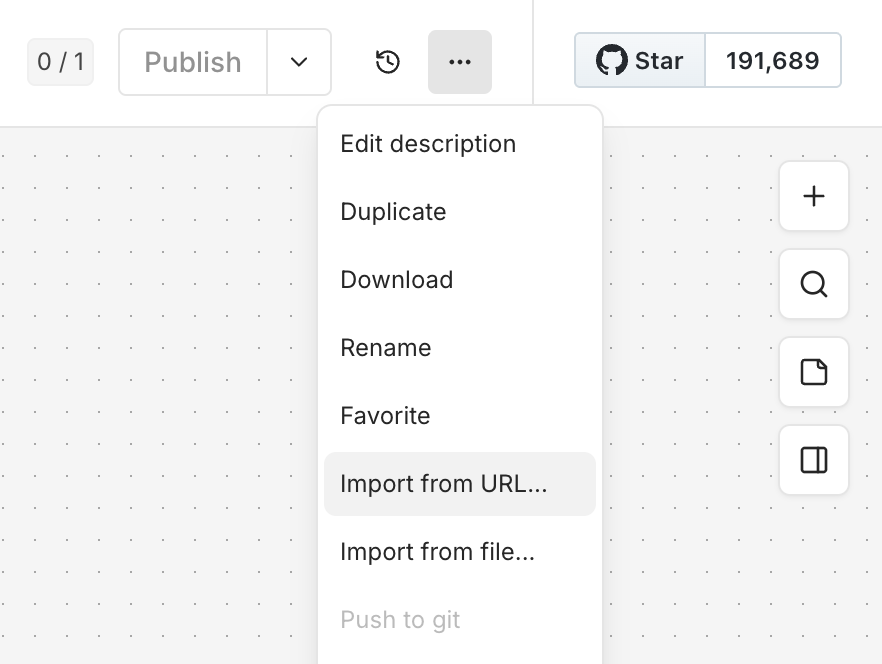
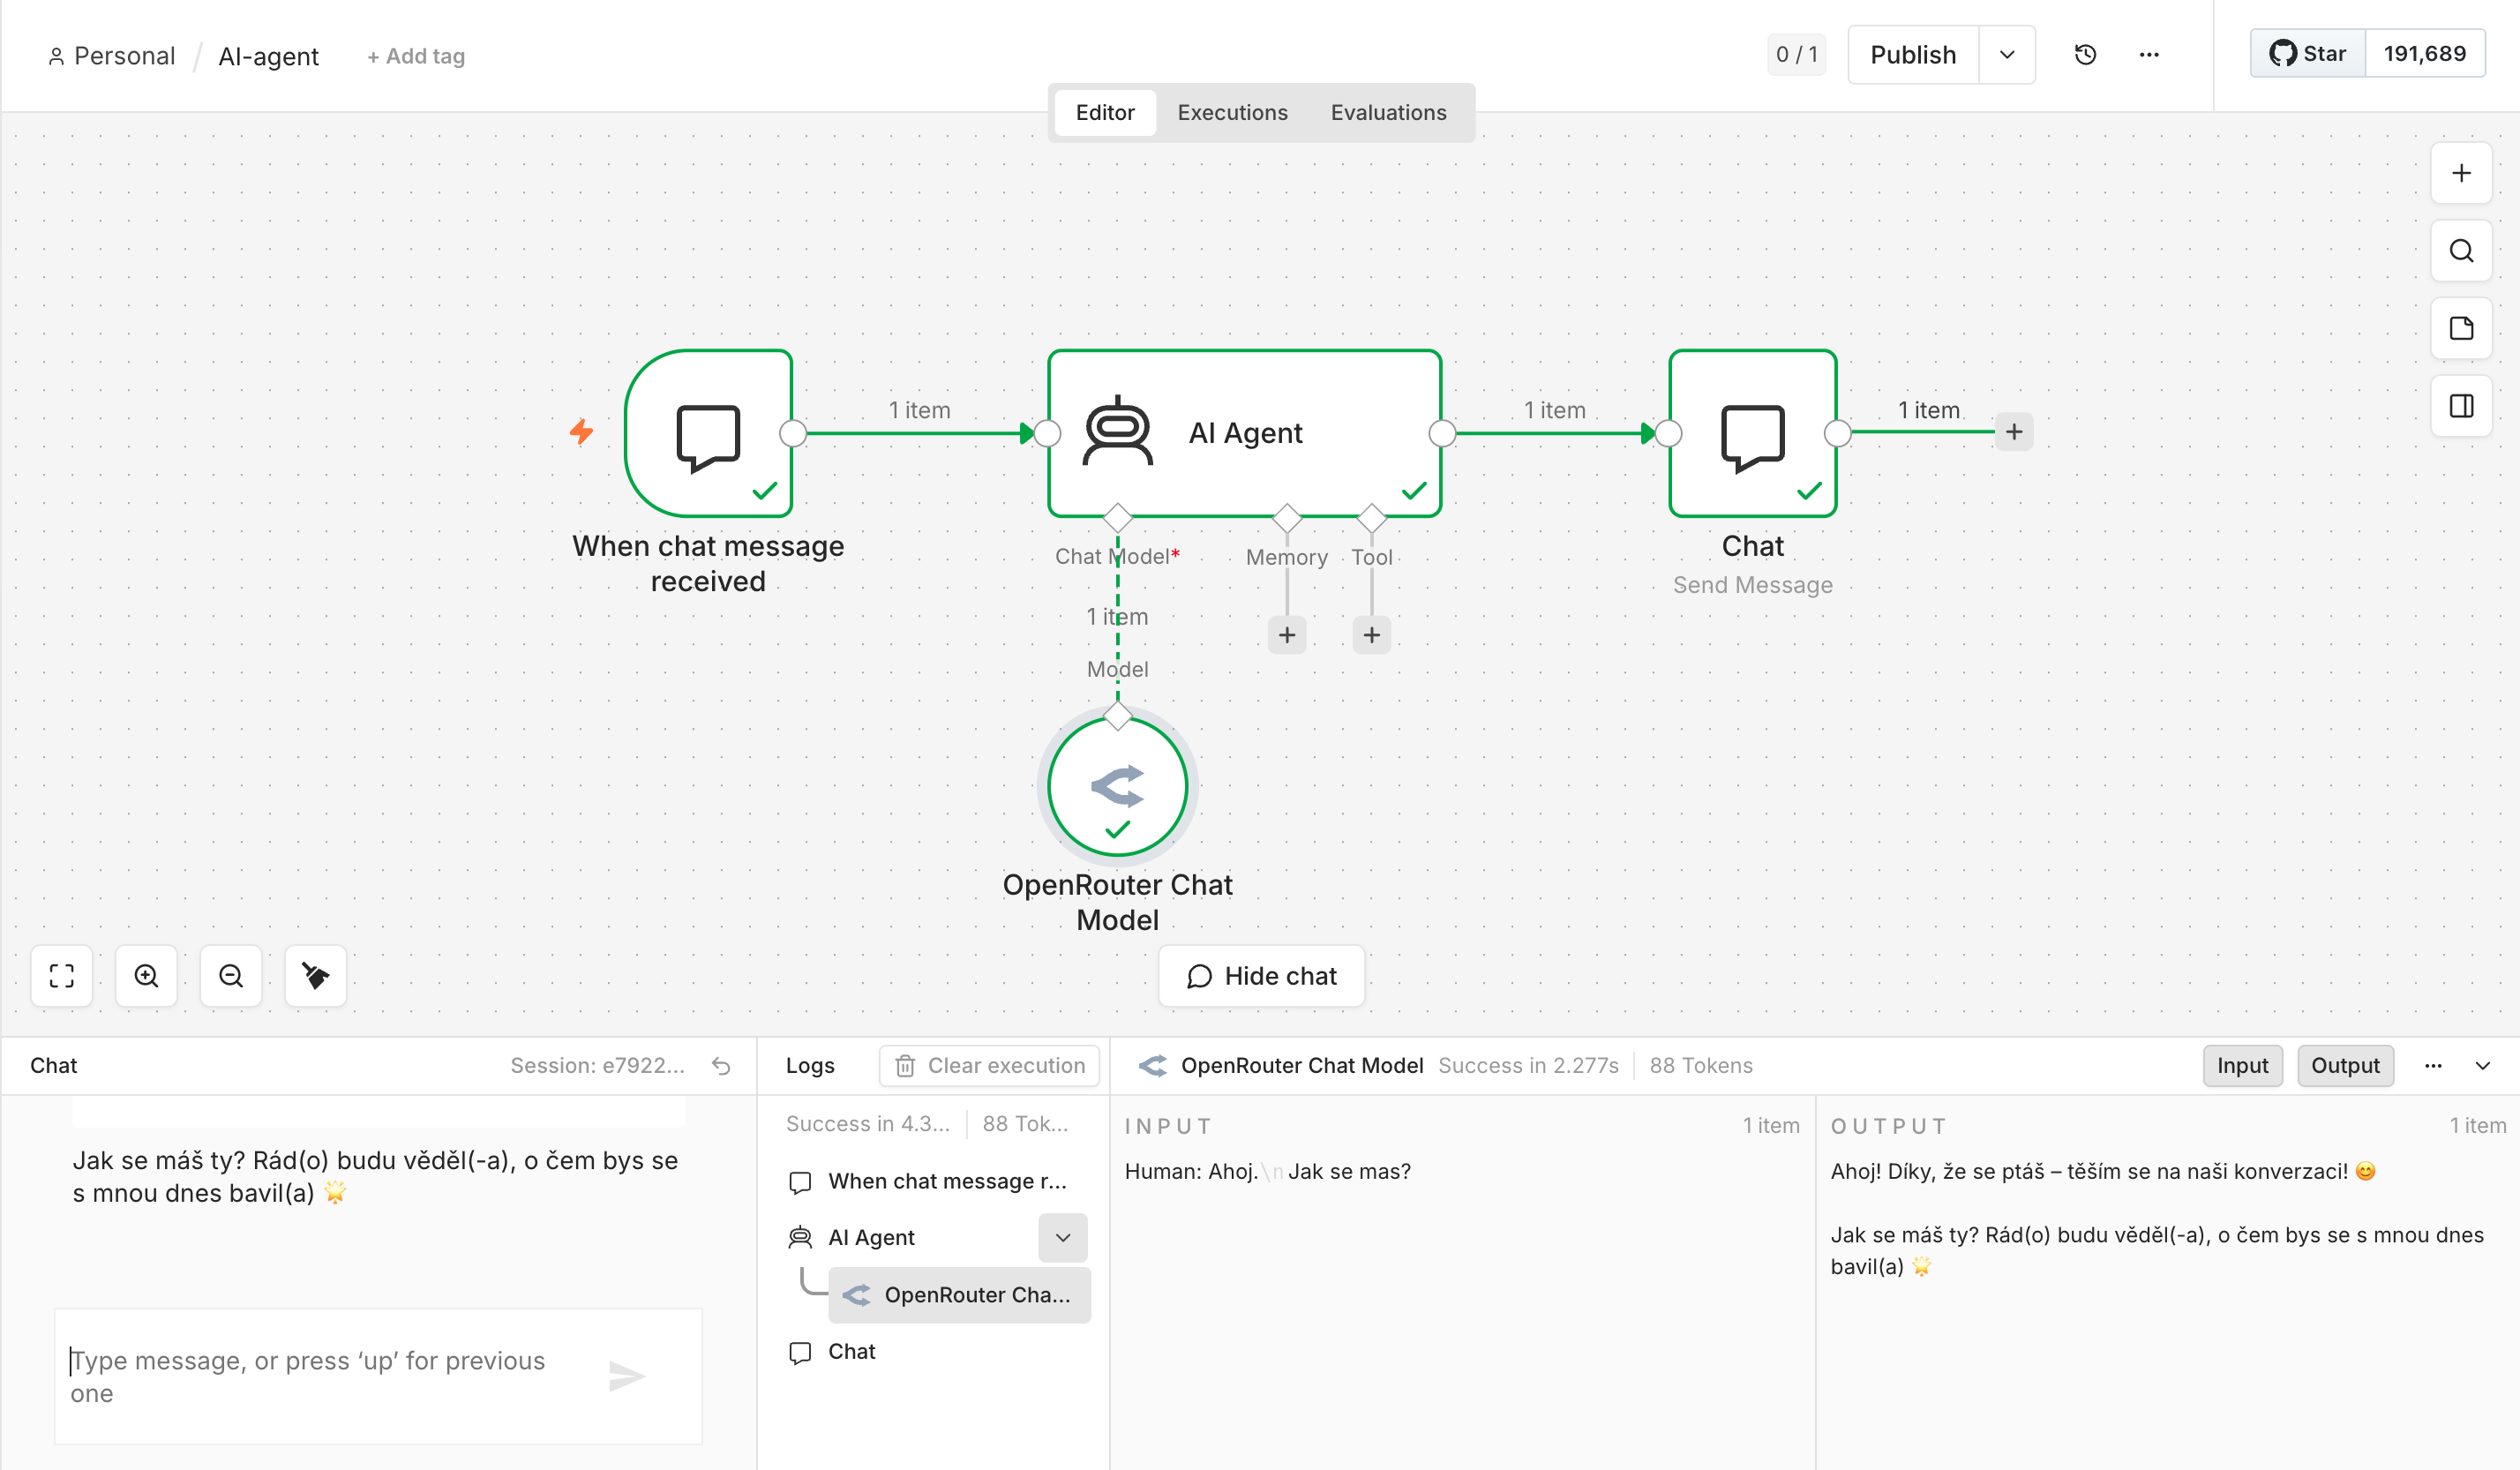
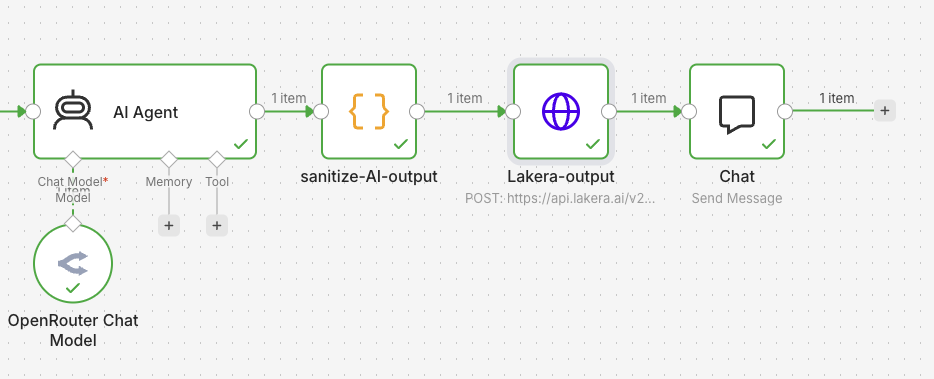
- After successful import, you should see this workflow diagram:
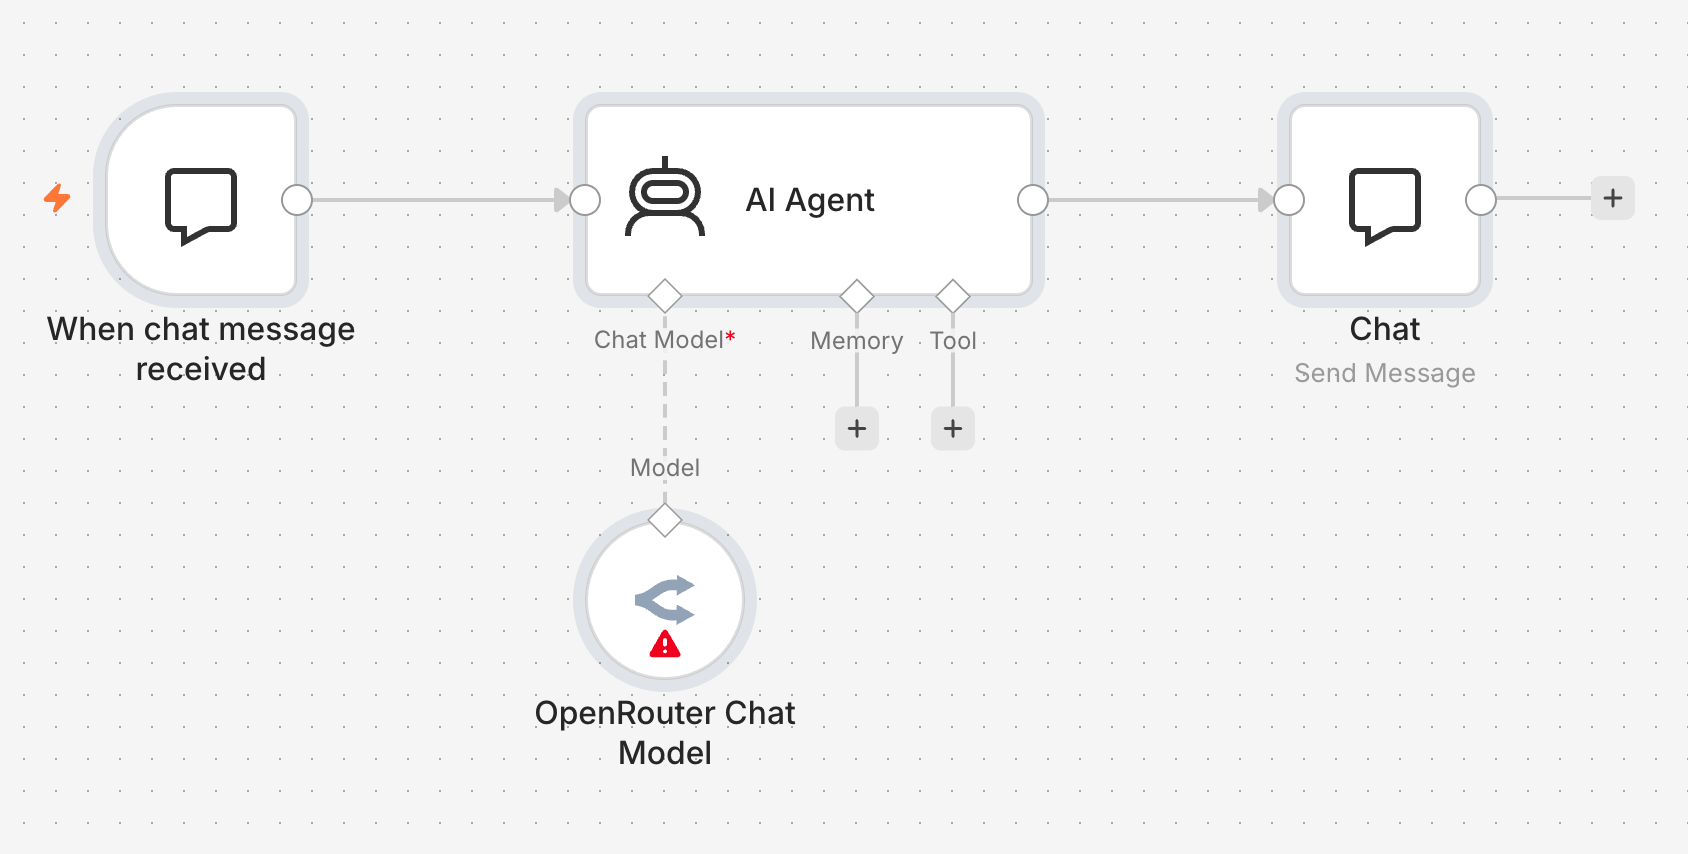
- Double-click OpenRouter Chat Model object
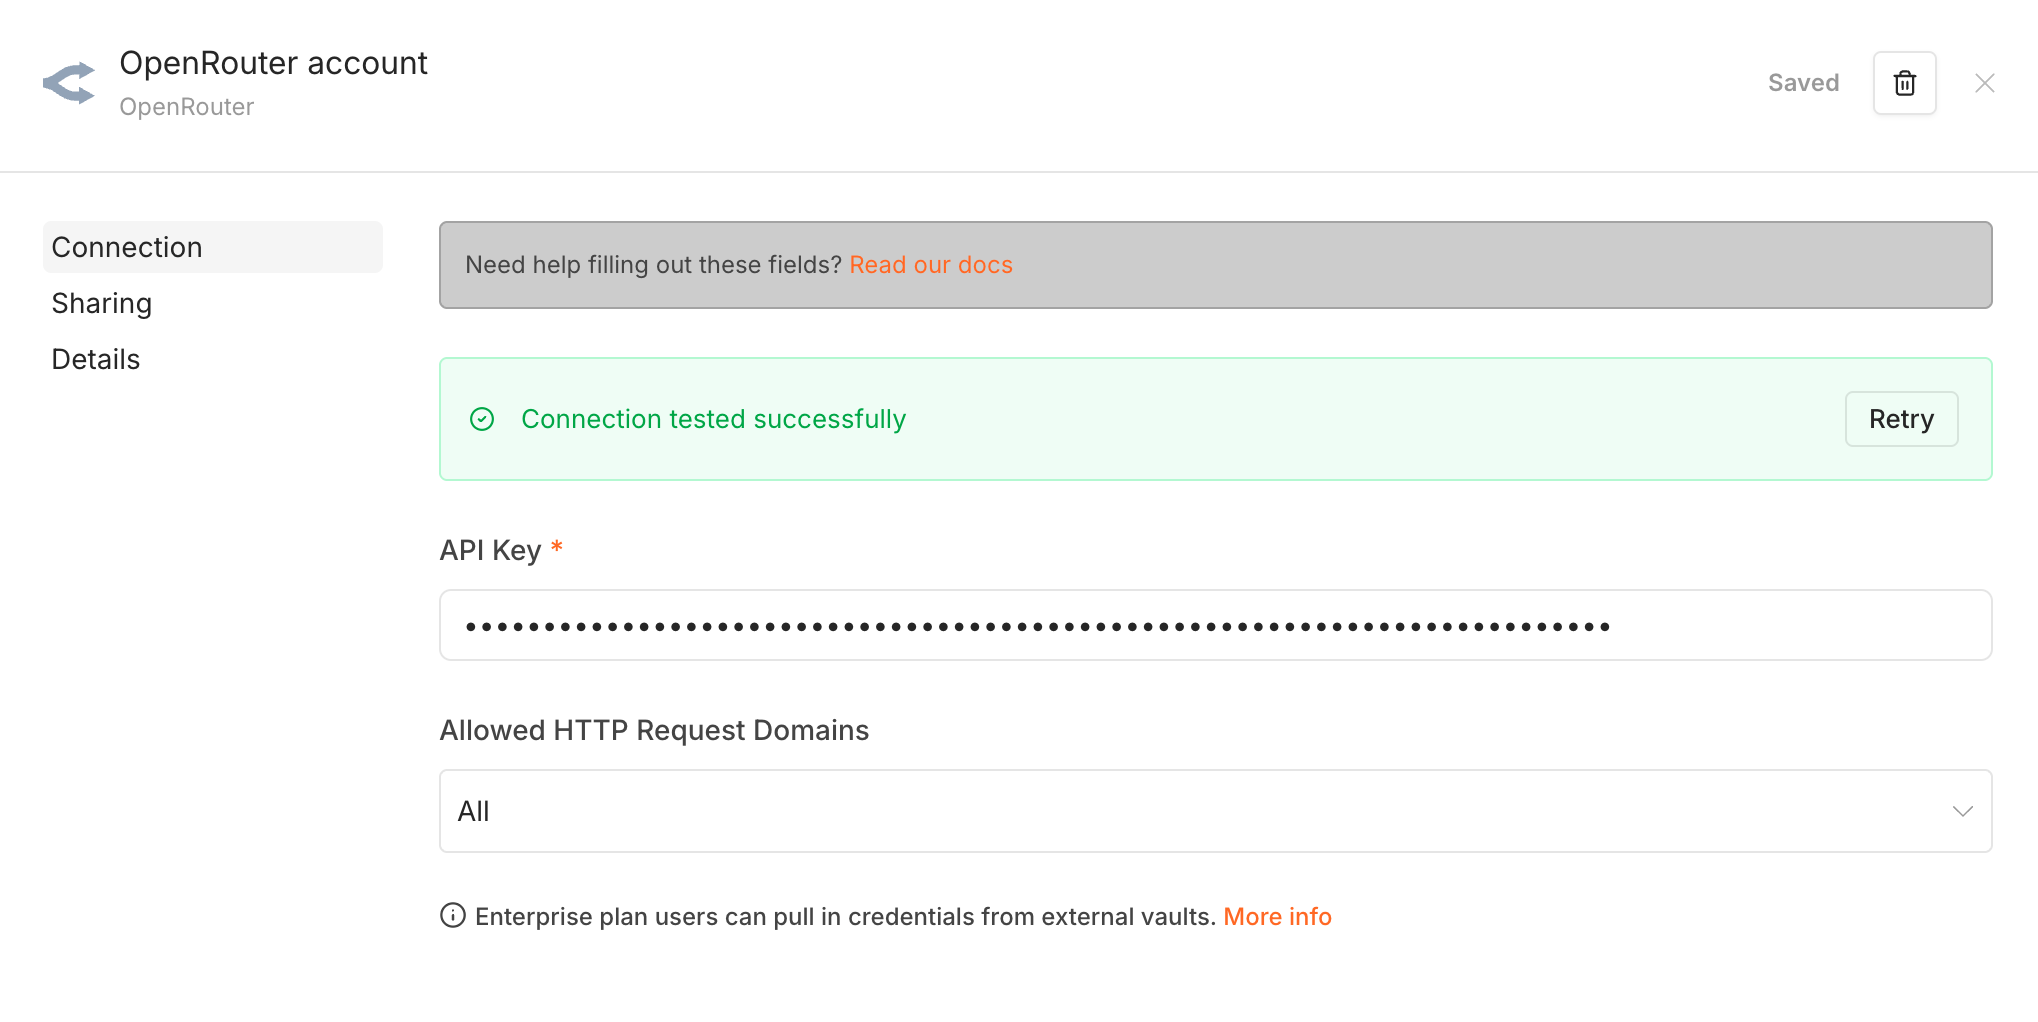
- Click Set up credential
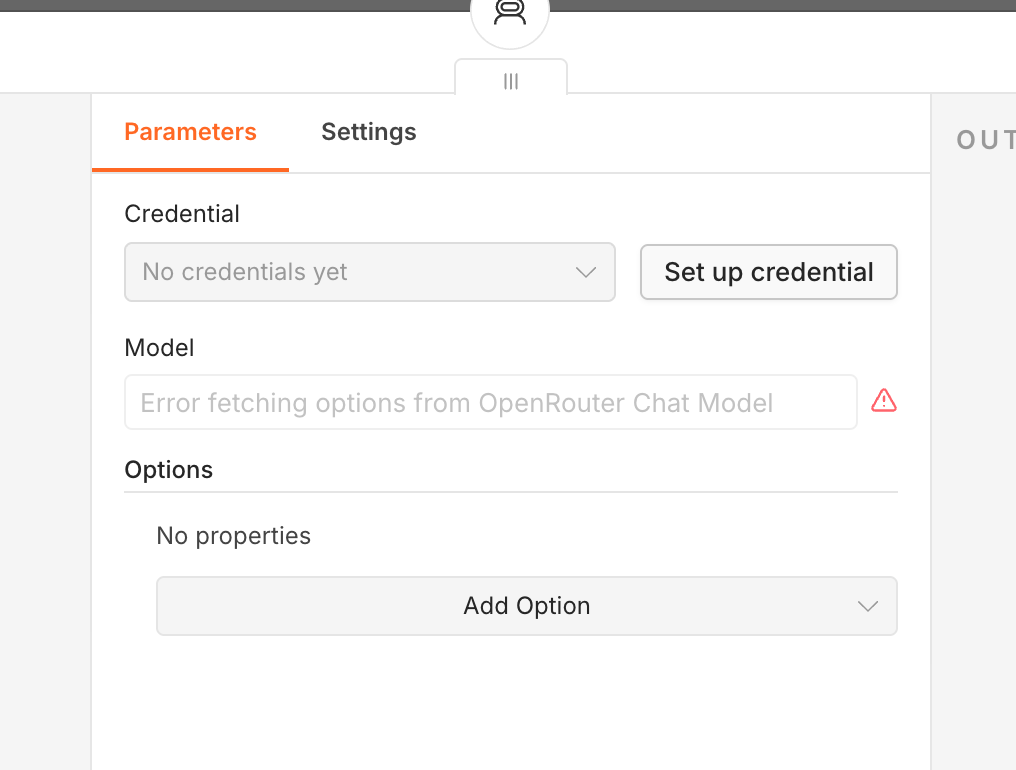
- Insert your OpenRouter API key and click Save. You should see a green success message
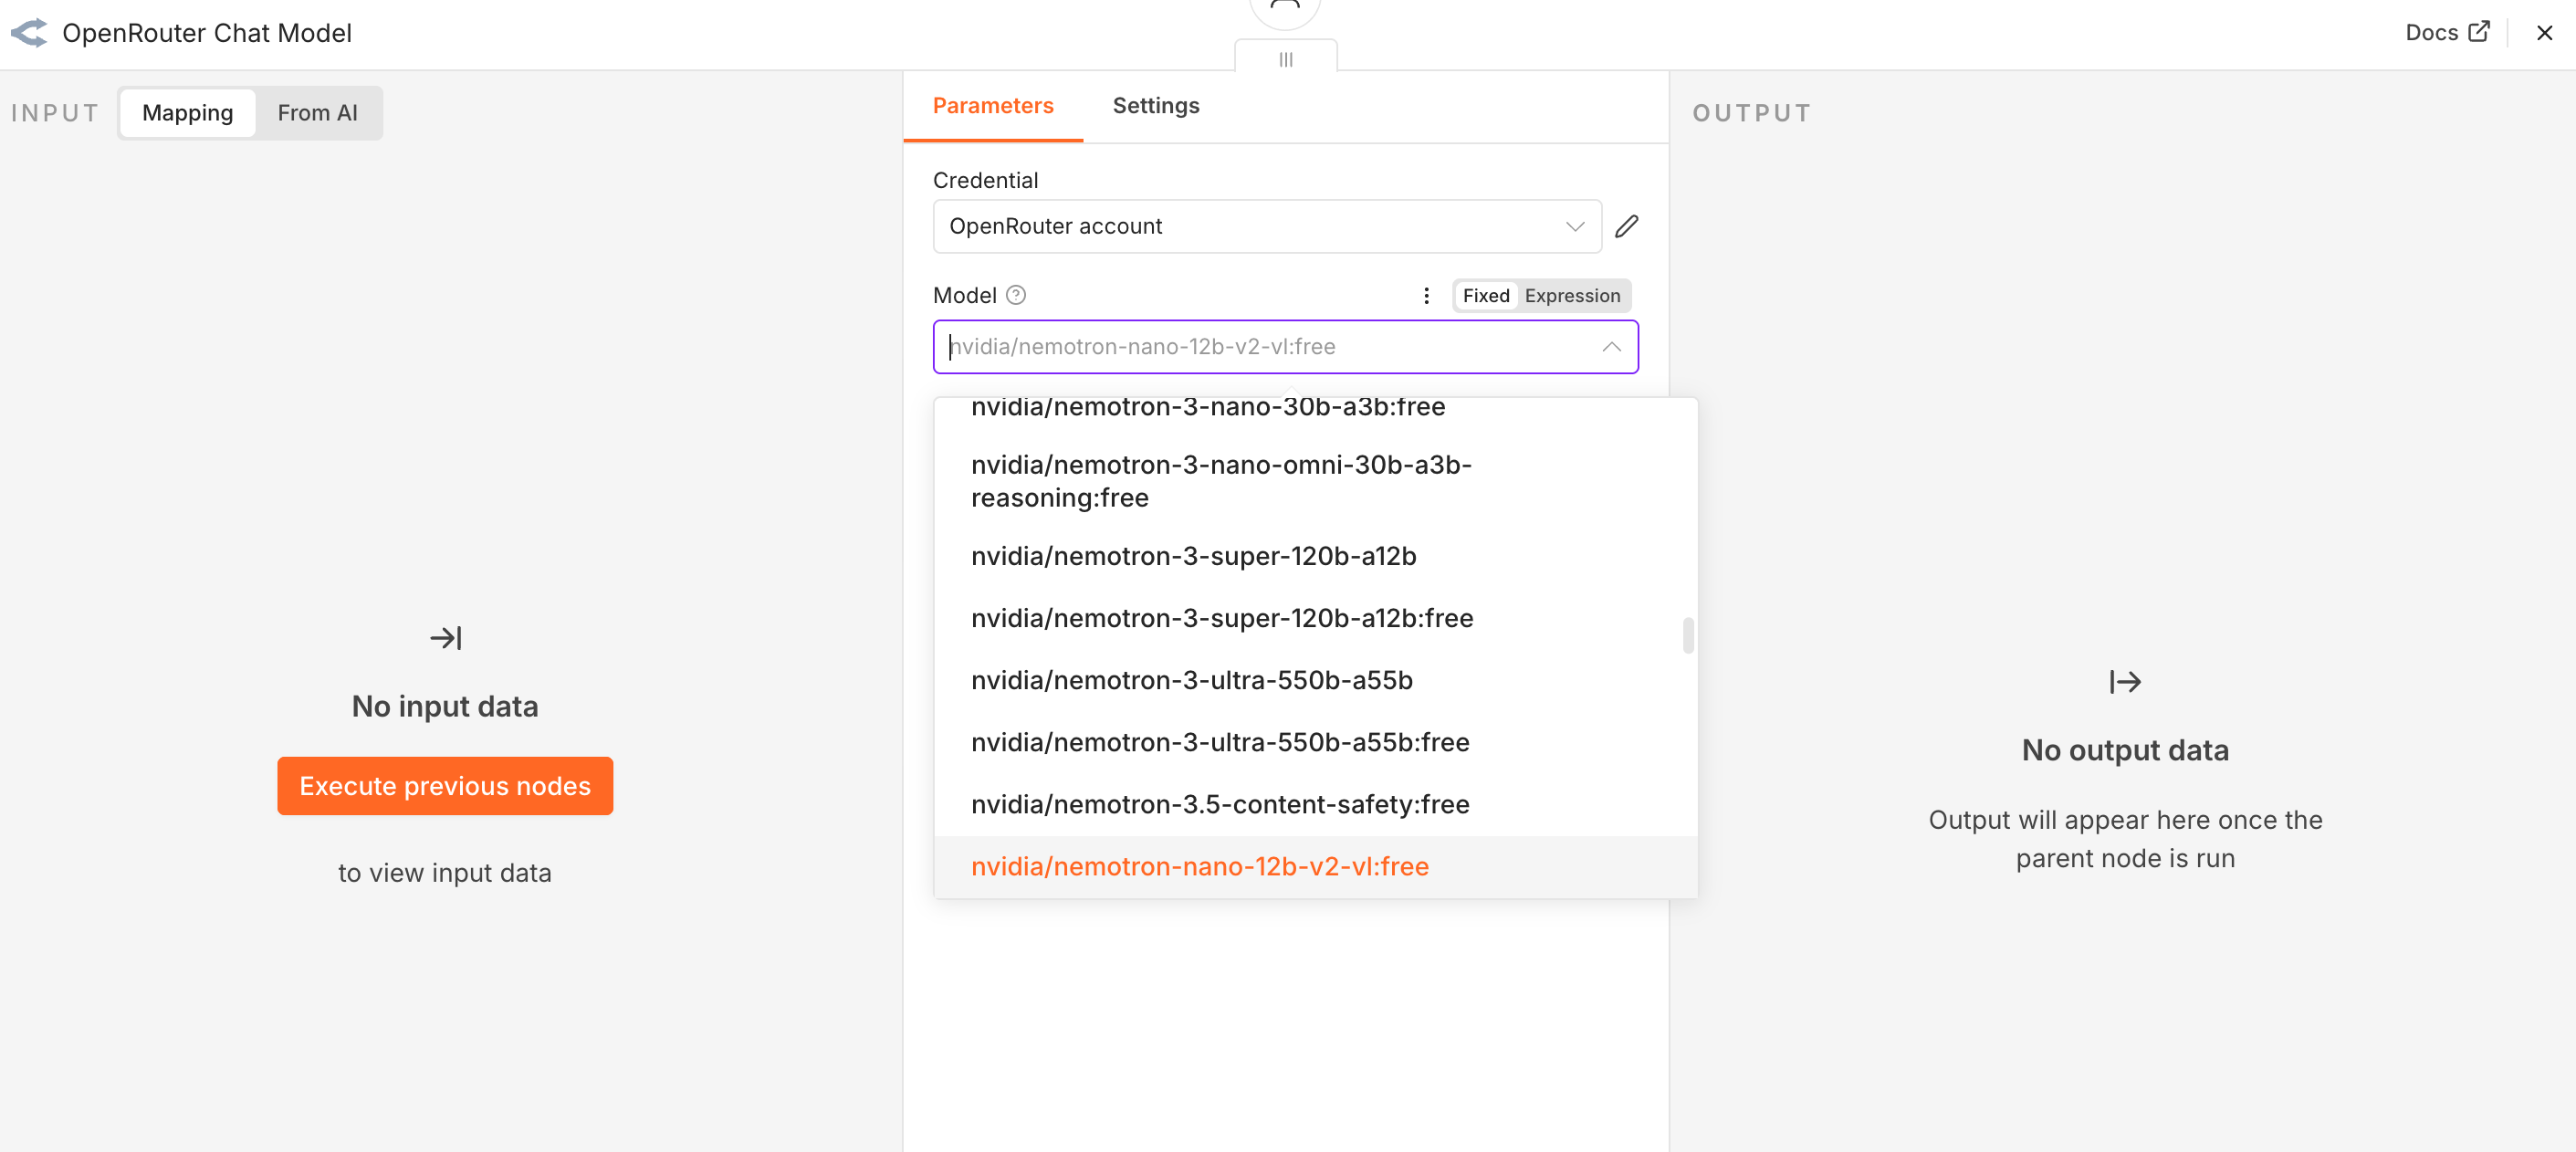
- Close the credentials window and verify the model is set to: openrouter/free
IMPORTANT: Make sure you use the FREE model!
- Test the AI agent by opening the Chat window (bottom left corner). Send a message to verify you receive a response
1.3 Implement Input Scanning
Goal: Add AI Guardrails to scan user input before it reaches the AI agent
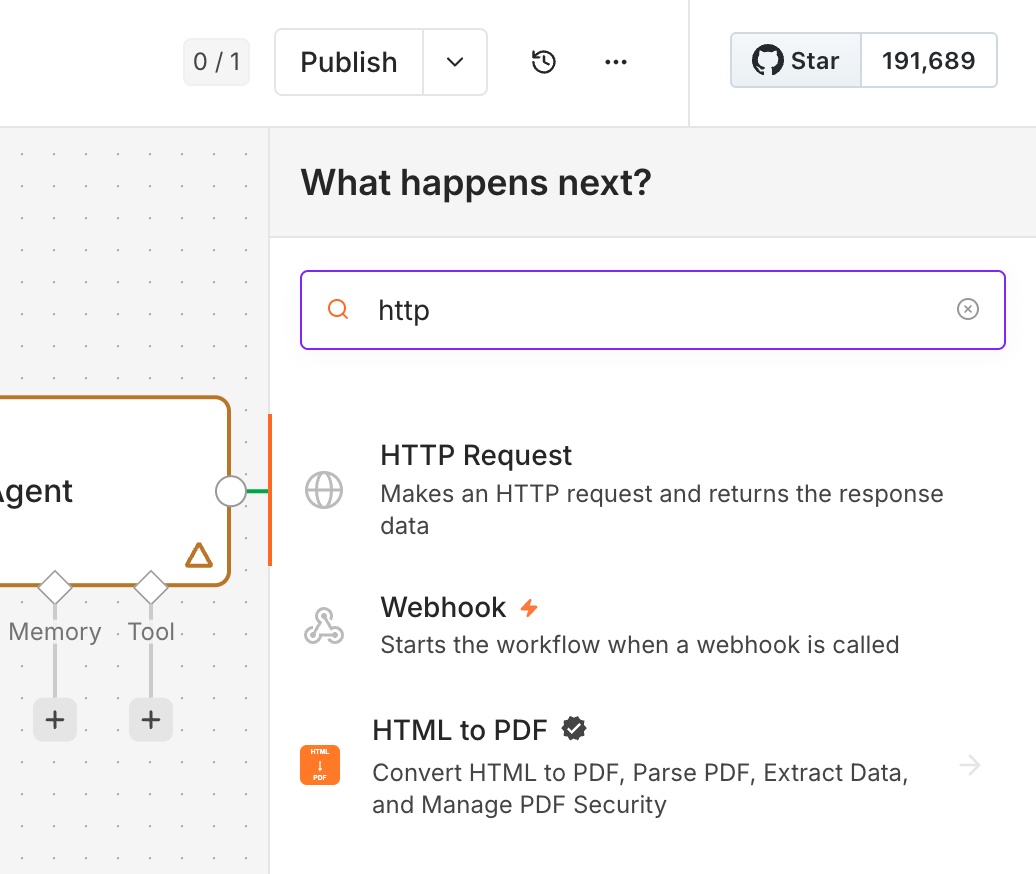
Step 1: Add HTTP Request Node
- Click on When chat message received workflow object and click the plus sign (Add)
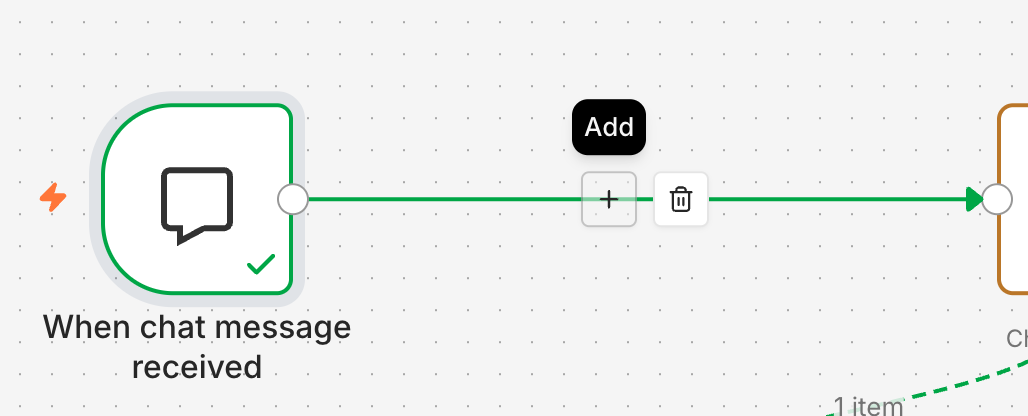
- Insert a new HTTP Request workflow step
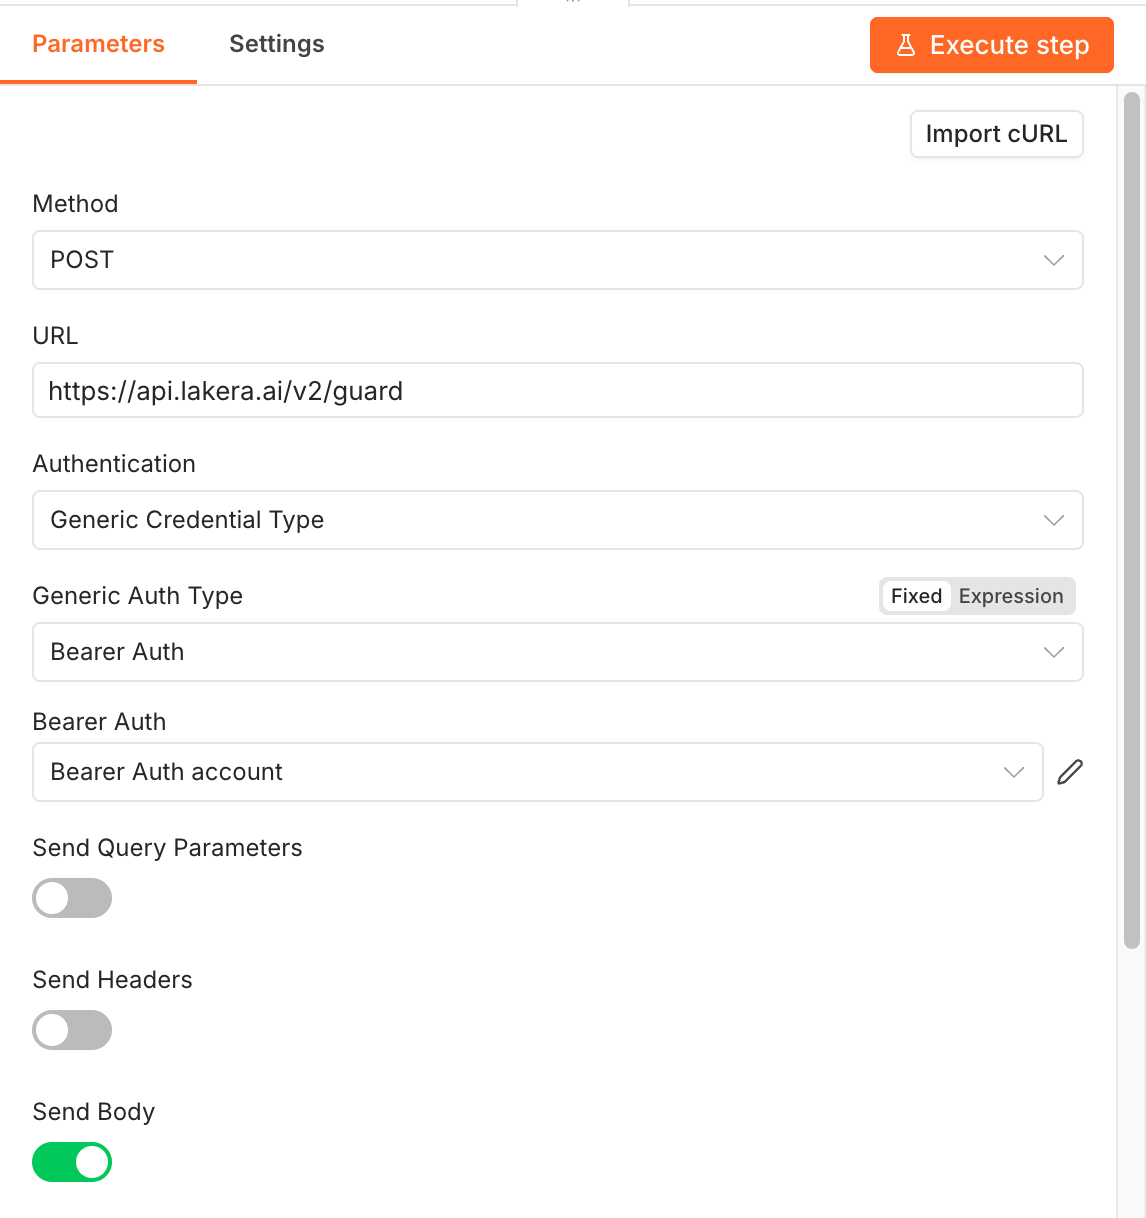
Step 2: Configure the HTTP Request
Fill in the following details:
| Setting | Value |
|---|---|
| Method | POST |
| URL | https://api.lakera.ai/v2/guard |
| Authentication | Generic Credential Type |
| Generic Auth Type | Bearer Auth |
Click Set up credential and insert your Lakera API key as the bearer token:
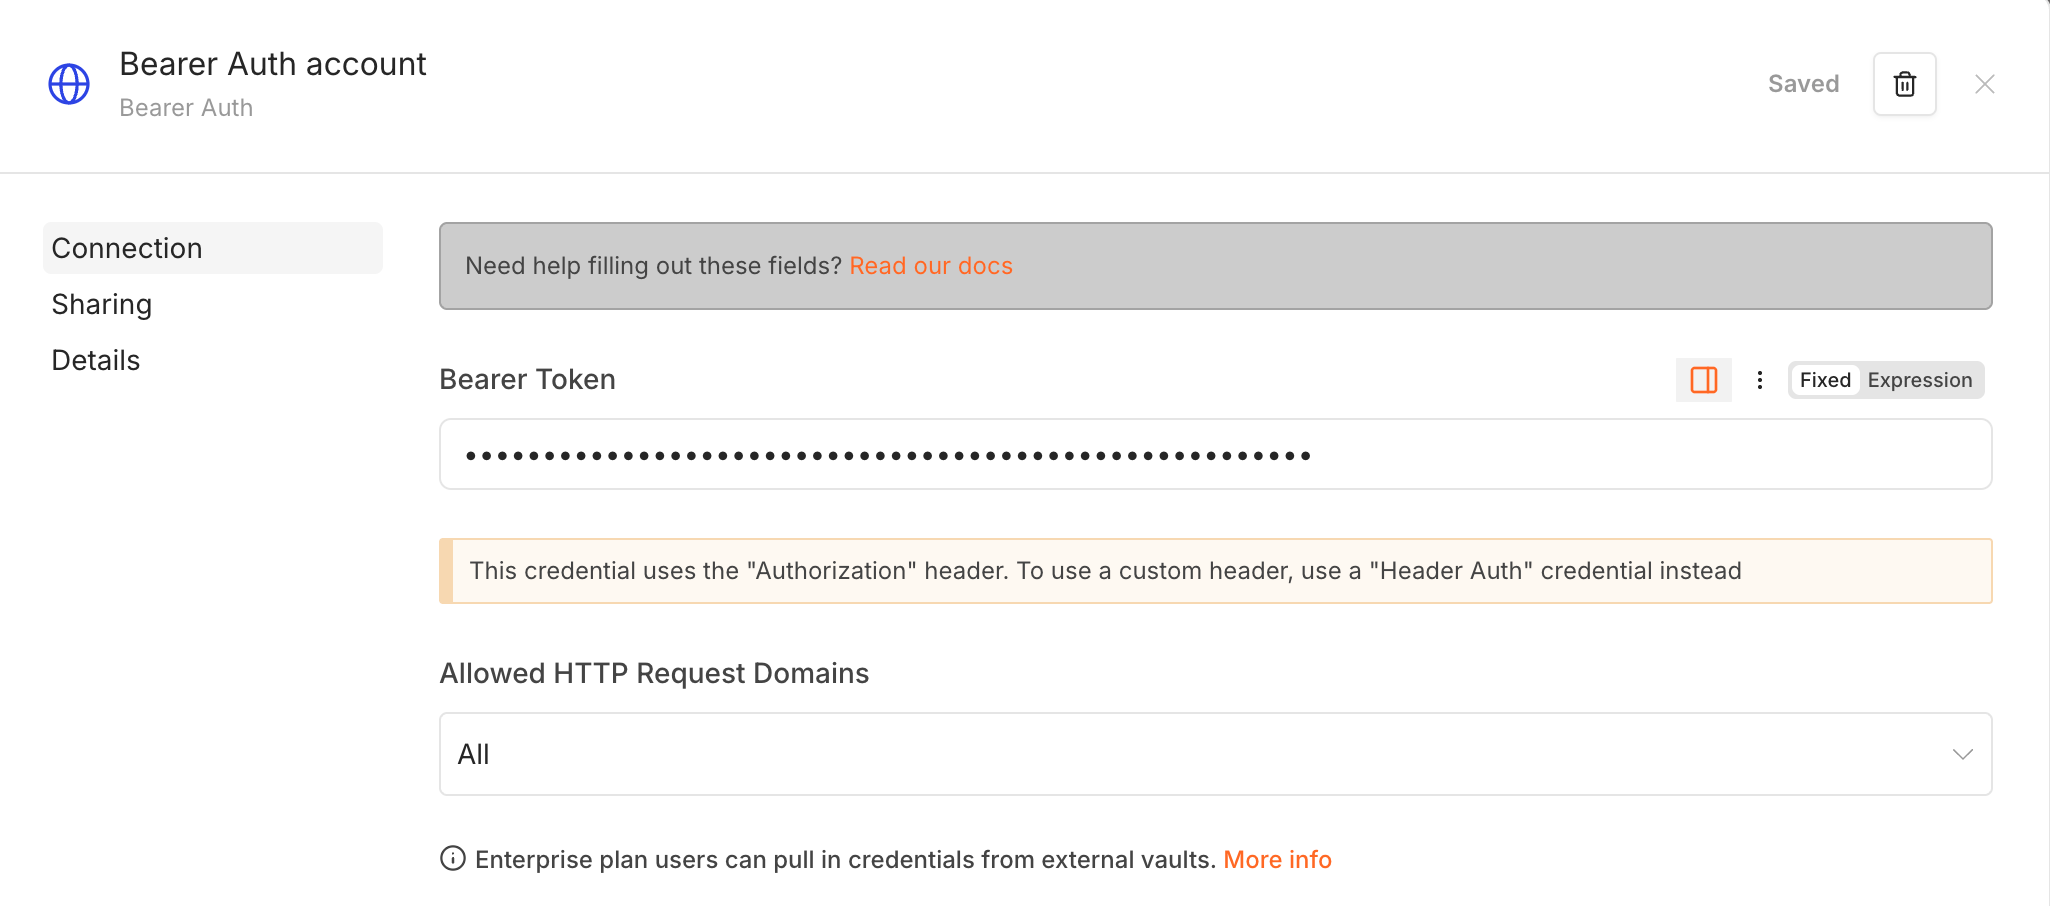
Your configuration should look like this:
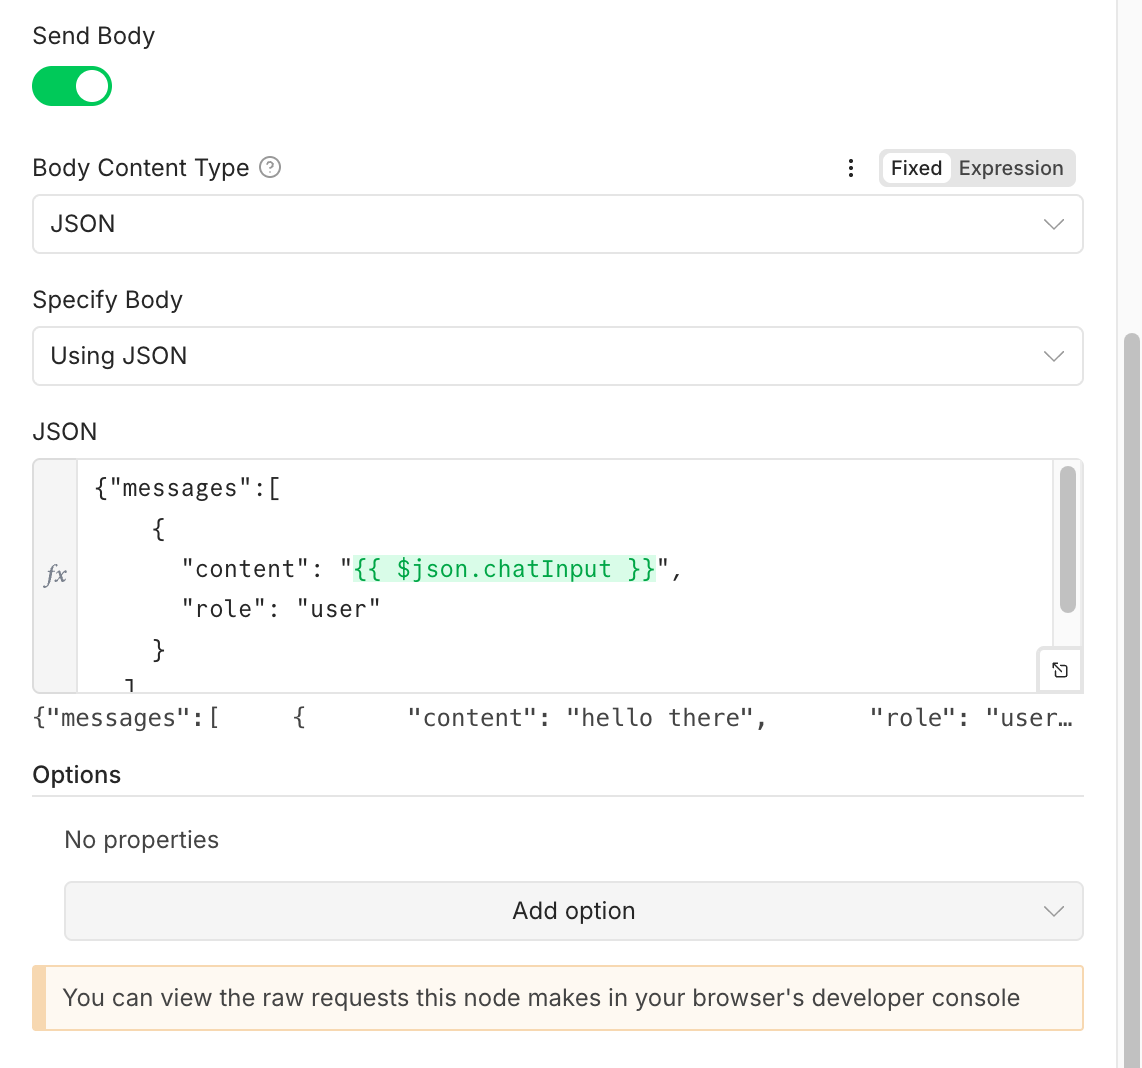
Step 3: Configure Request Body
- Enable Send Body (if not already on)
- Set Specify Body to Using JSON
- Paste this JSON:
{
  "messages": [
    {
      "content": "{{ $json.chatInput }}",
      "role": "user"
    }
  ],
  "breakdown": true
}
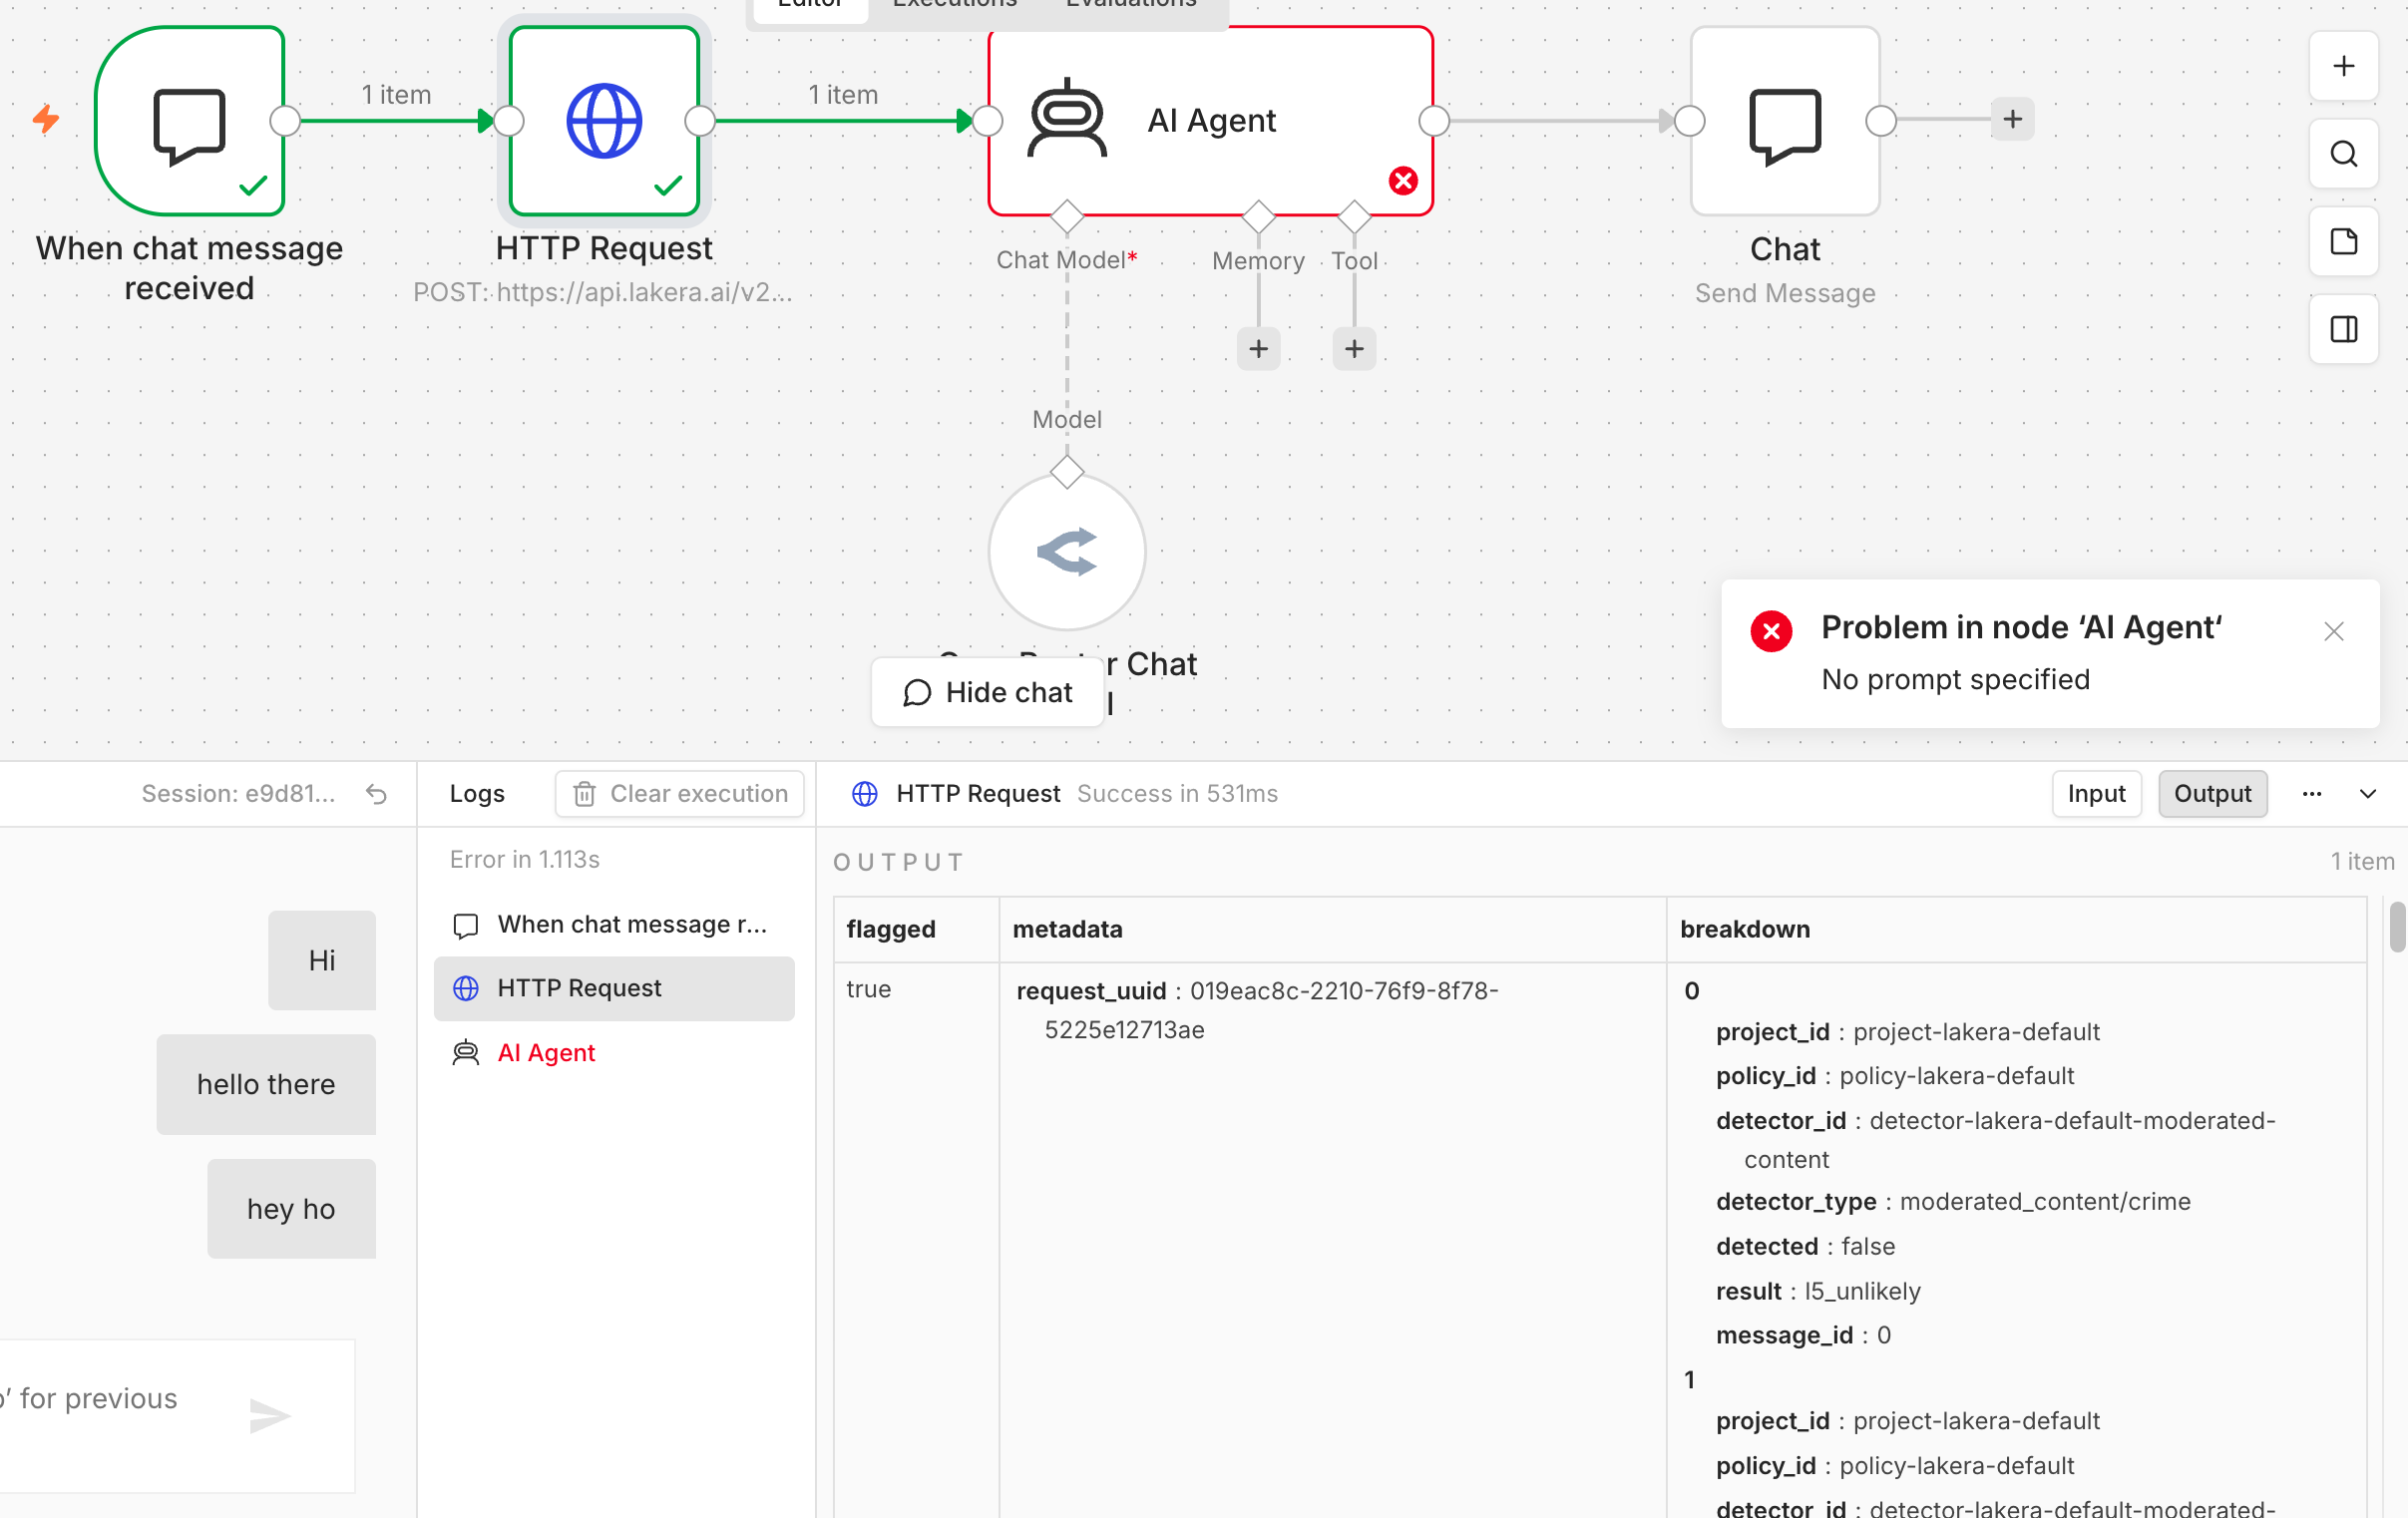
Step 4: Test the Integration
- Write something in the chat window and send the message
- You will get an error — this is expected!
- Look for the
flaggedparameter in the output window — this confirms Lakera has inspected the message
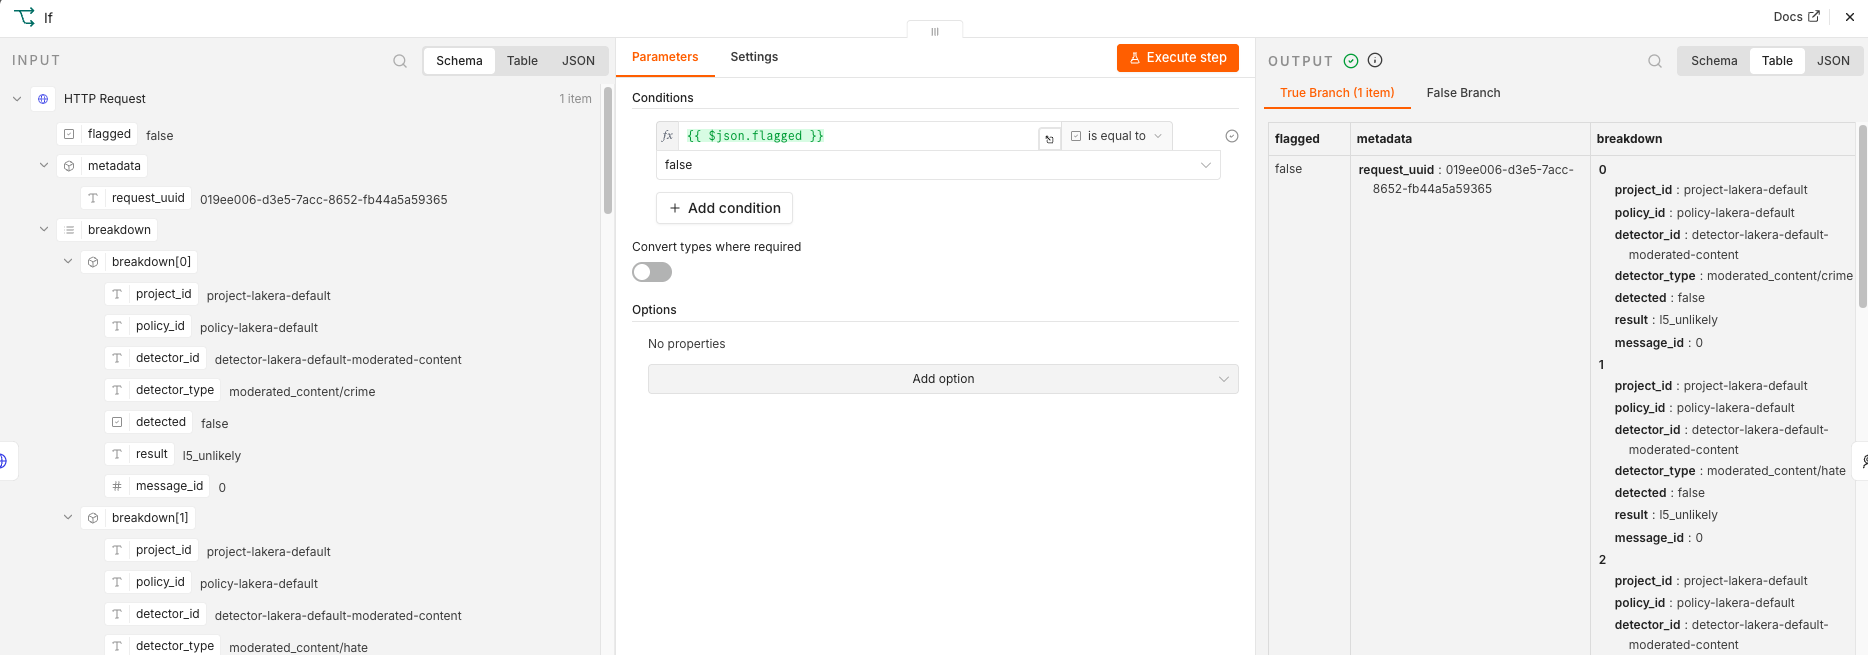
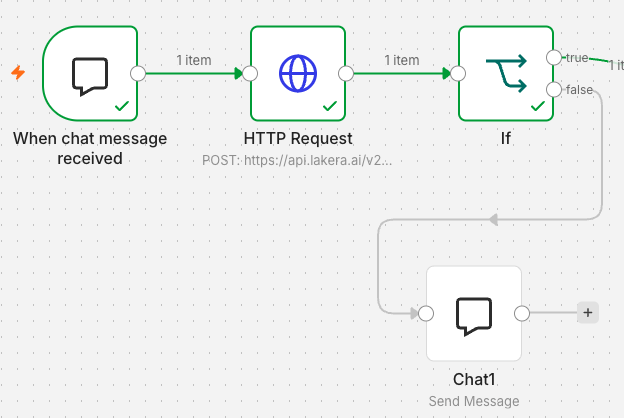
Step 5: Add IF Router
- Insert an IF node to handle Lakera verdicts
- Set the condition: if
flaggedis equal tofalse - Drag and drop the
flaggedobject from the left panel to the condition field
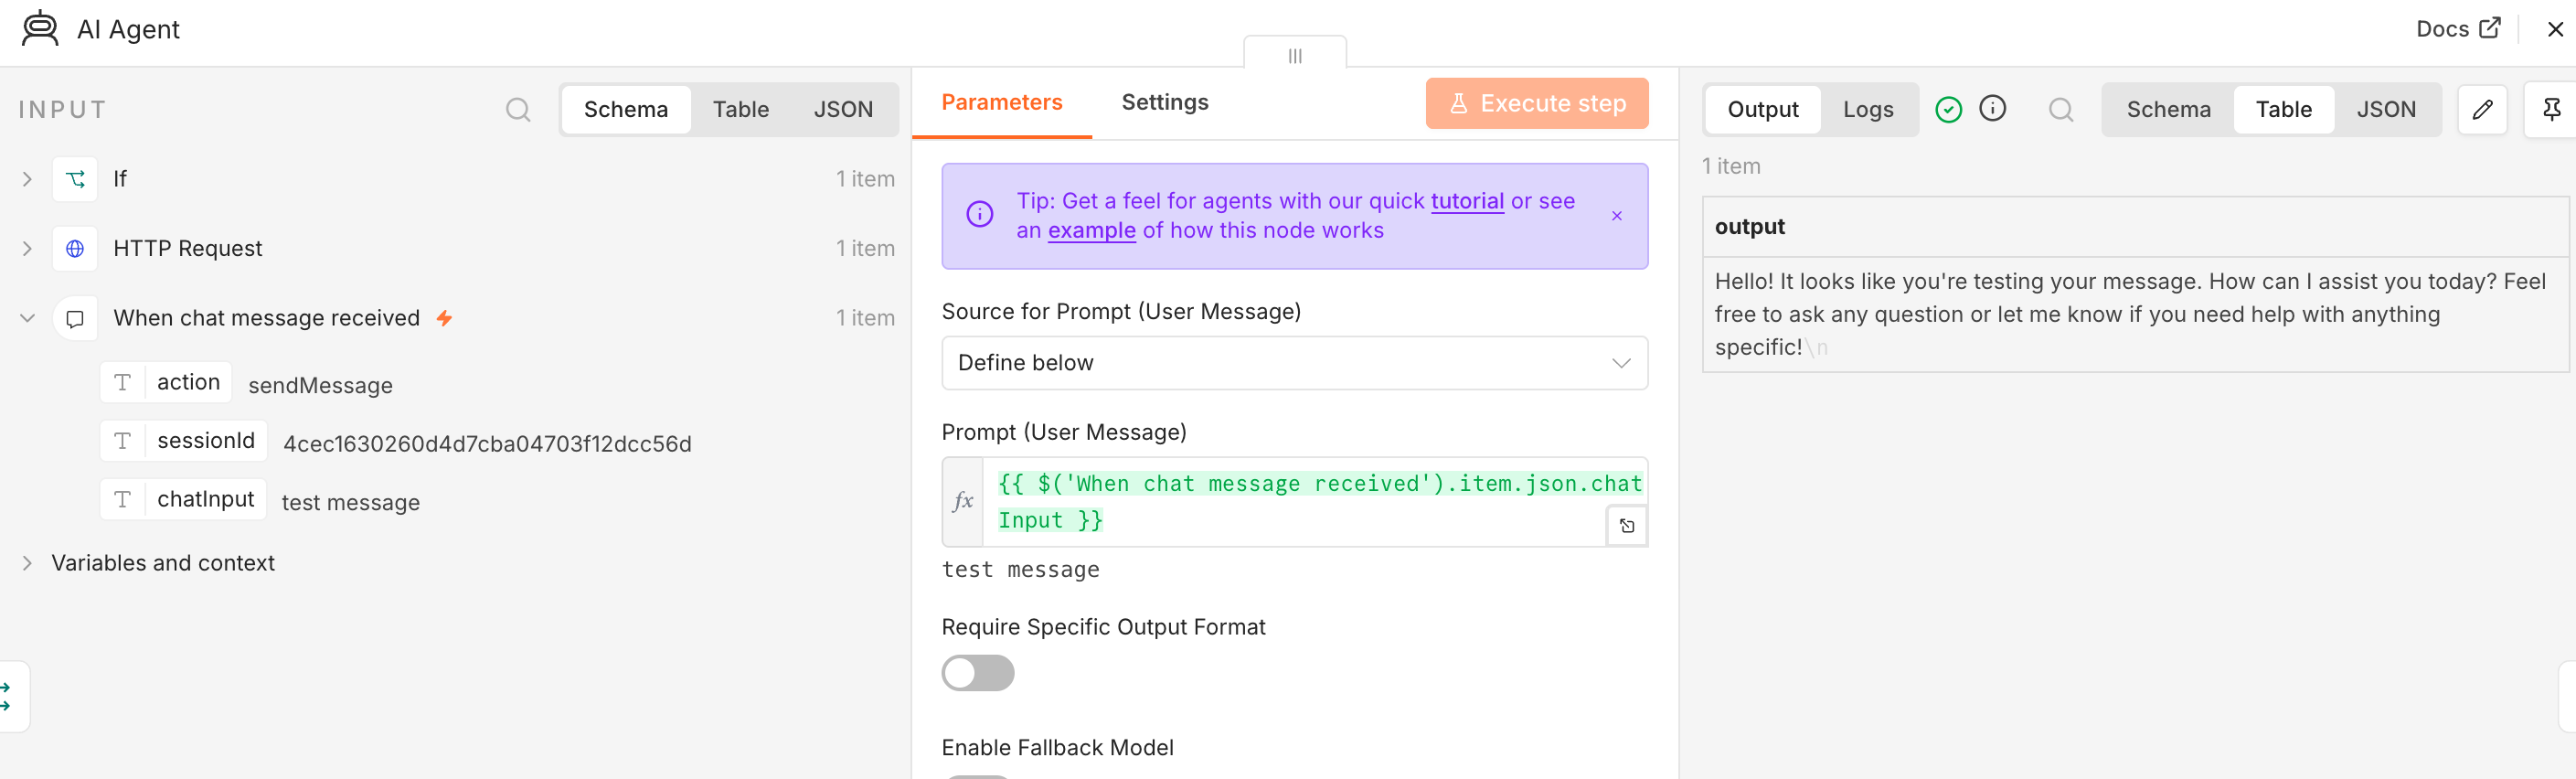
Step 6: Configure AI Agent
- Double-click on the AI agent node
- Change Source for Prompt (User Message) to Define Below
- Drag and drop
chatInputfrom INPUT to the Prompt field
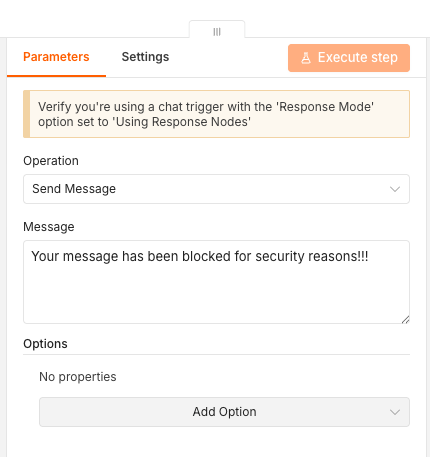
Step 7: Add Blocking Response
- Click the plus sign on the true connector of the IF node (flagged = true)
- Add a new Chat node of "Send a message" type
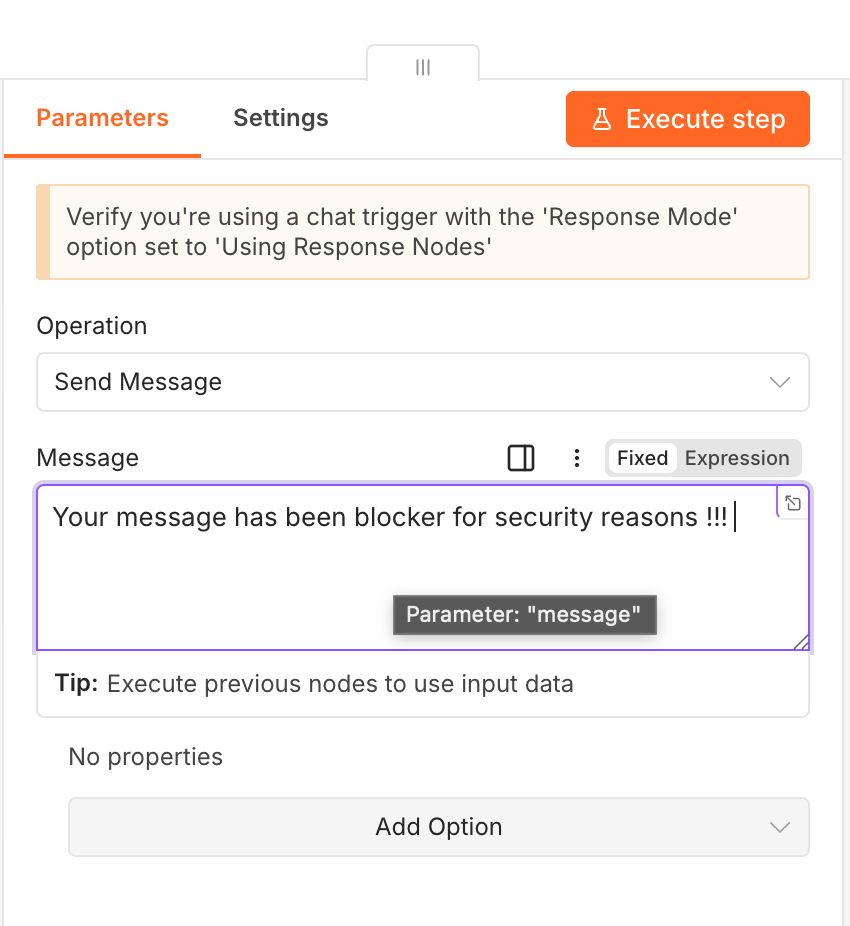
- Set your blocking message:
Your message has been blocked for security reasons!!!
Your flow should look like this:
Step 8: Test with Malicious Prompts
Try sending malicious prompts to test the guardrails. You can:
- Create your own malicious prompts
- Use prompts from this dataset: OpenSafetyLab/Salad-Data
1.4 Implement Output Scanning
Goal: Add AI Guardrails to scan AI agent output before returning it to the user
Overview
You will add three new nodes after the AI agent:
- Code node — Clean up AI agent output for scanning
- HTTP Request node — Send output to Lakera for inspection
- IF node — Decide whether to block or return the output
Step 1: Add Code Node
- Click the plus sign behind AI Agent
- Add a new Code - Code in Javascript node
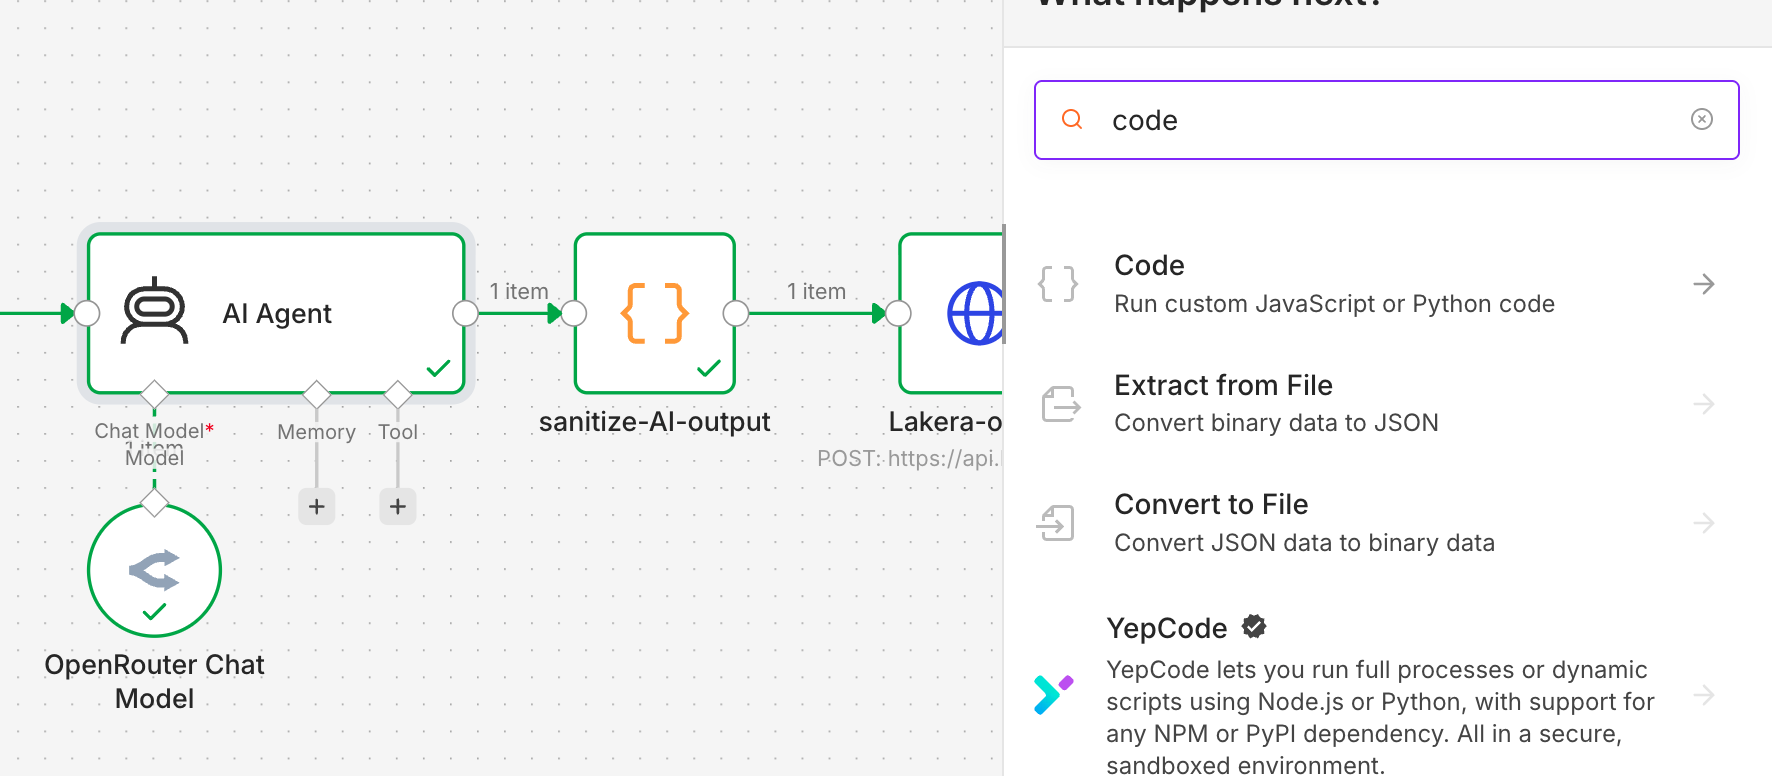
- Name the node
sanitize-AI-outputand paste this code:
return [{ json: { output: $input.first().json.output.replace(/\n/g, '\\n').replace(/"/g, '\\"') } }];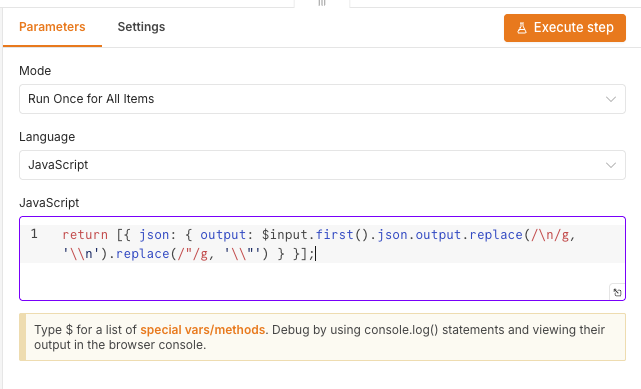
Step 2: Add Output Scanning Request
- Duplicate the previous HTTP request node (right-click → Duplicate)
- Rename it to
Lakera-output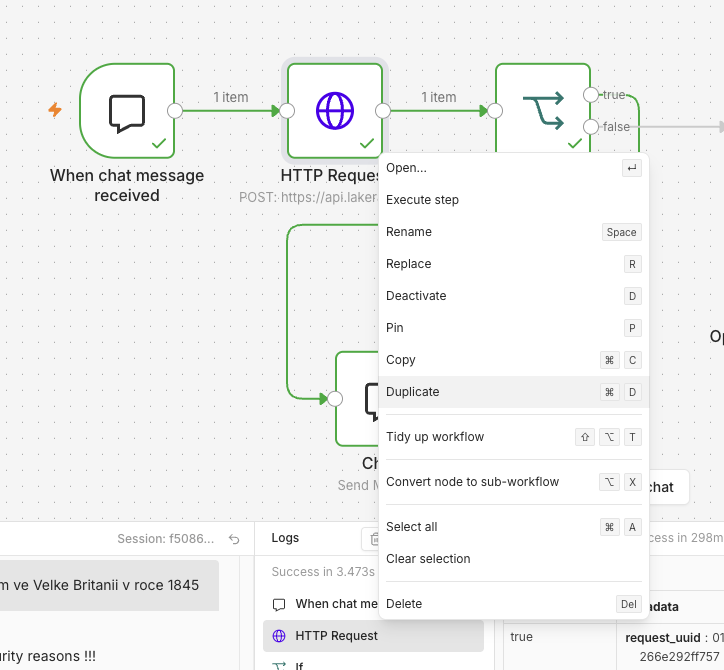
- Connect it behind the
sanitize-AI-outputnode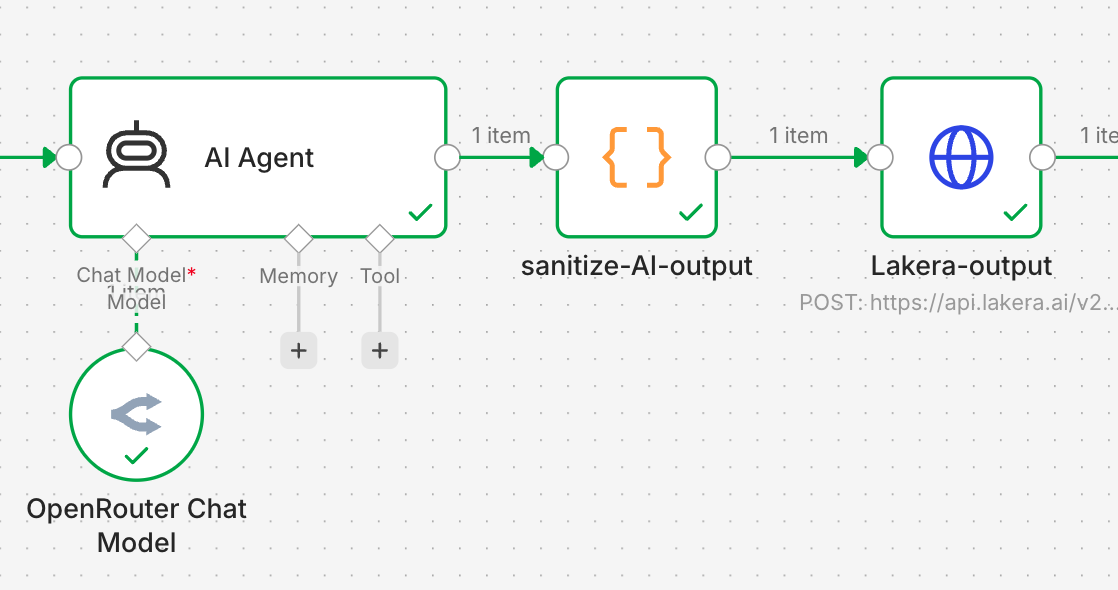
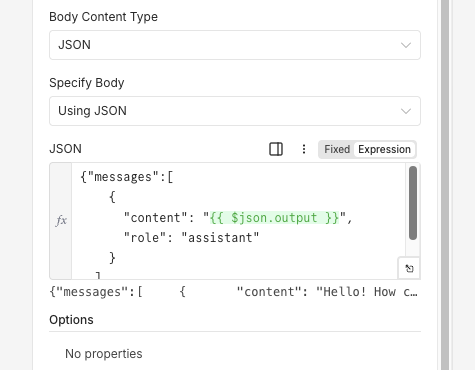
- Modify the JSON body:
{
  "messages": [
    {
      "content": "{{ $json.output }}",
      "role": "assistant"
    }
  ],
  "breakdown": true
}
Step 3: Fix Chat Node
Update the final Chat node to return the AI agent's output:
- From INPUT, select AI Agent output and drag it to the Message field
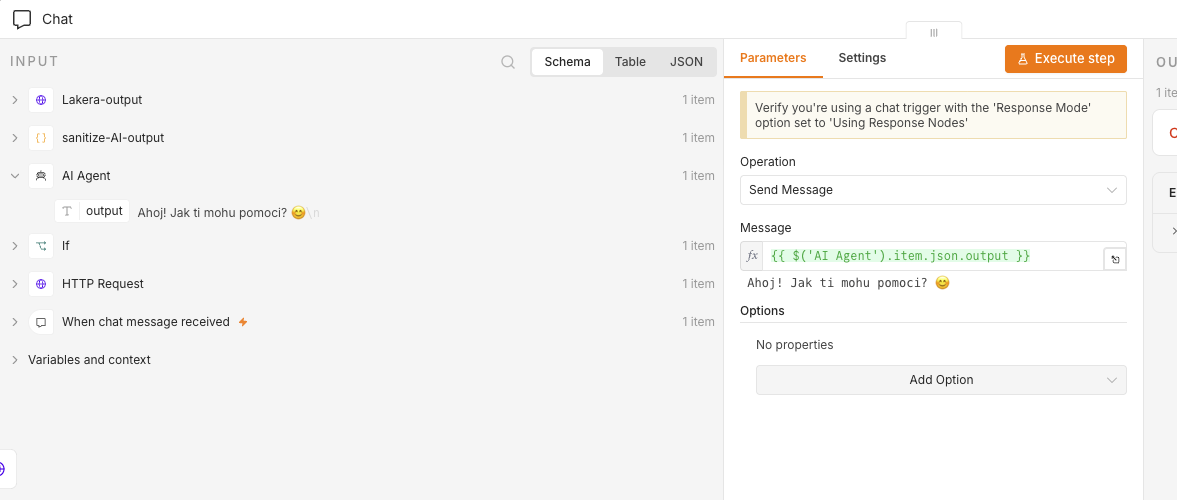
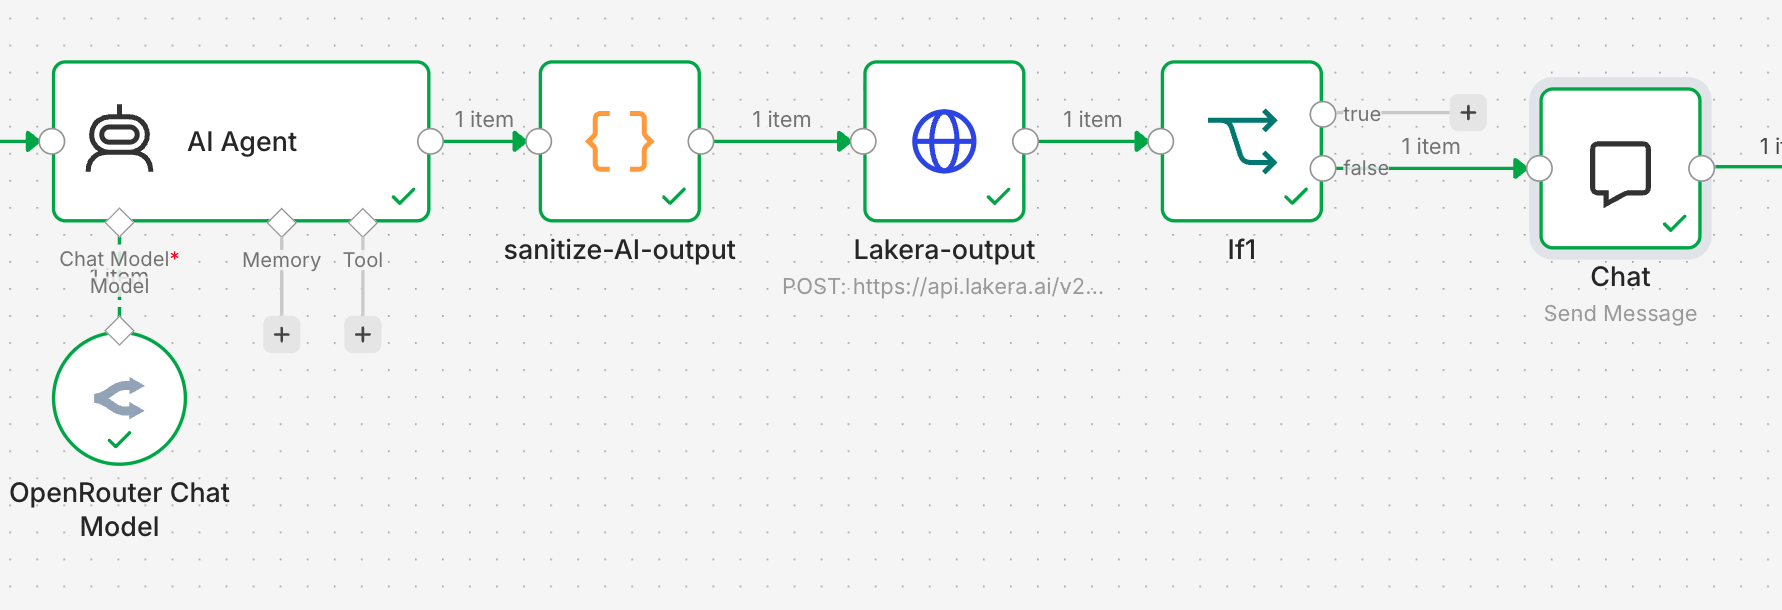
Your flow should now work end-to-end:
Step 4: Add Output Verdict Routing
- Delete the link between
Lakera-outputand the final Chat node - Duplicate the IF node from the input scanning section
- Insert it between
Lakera-outputand Chat (via the false output)
Step 5: Add Output Blocking Response
- Create a new Chat node
- Connect it to the true connector of the IF node
- Add a blocking message for flagged outputs
Complete Workflow
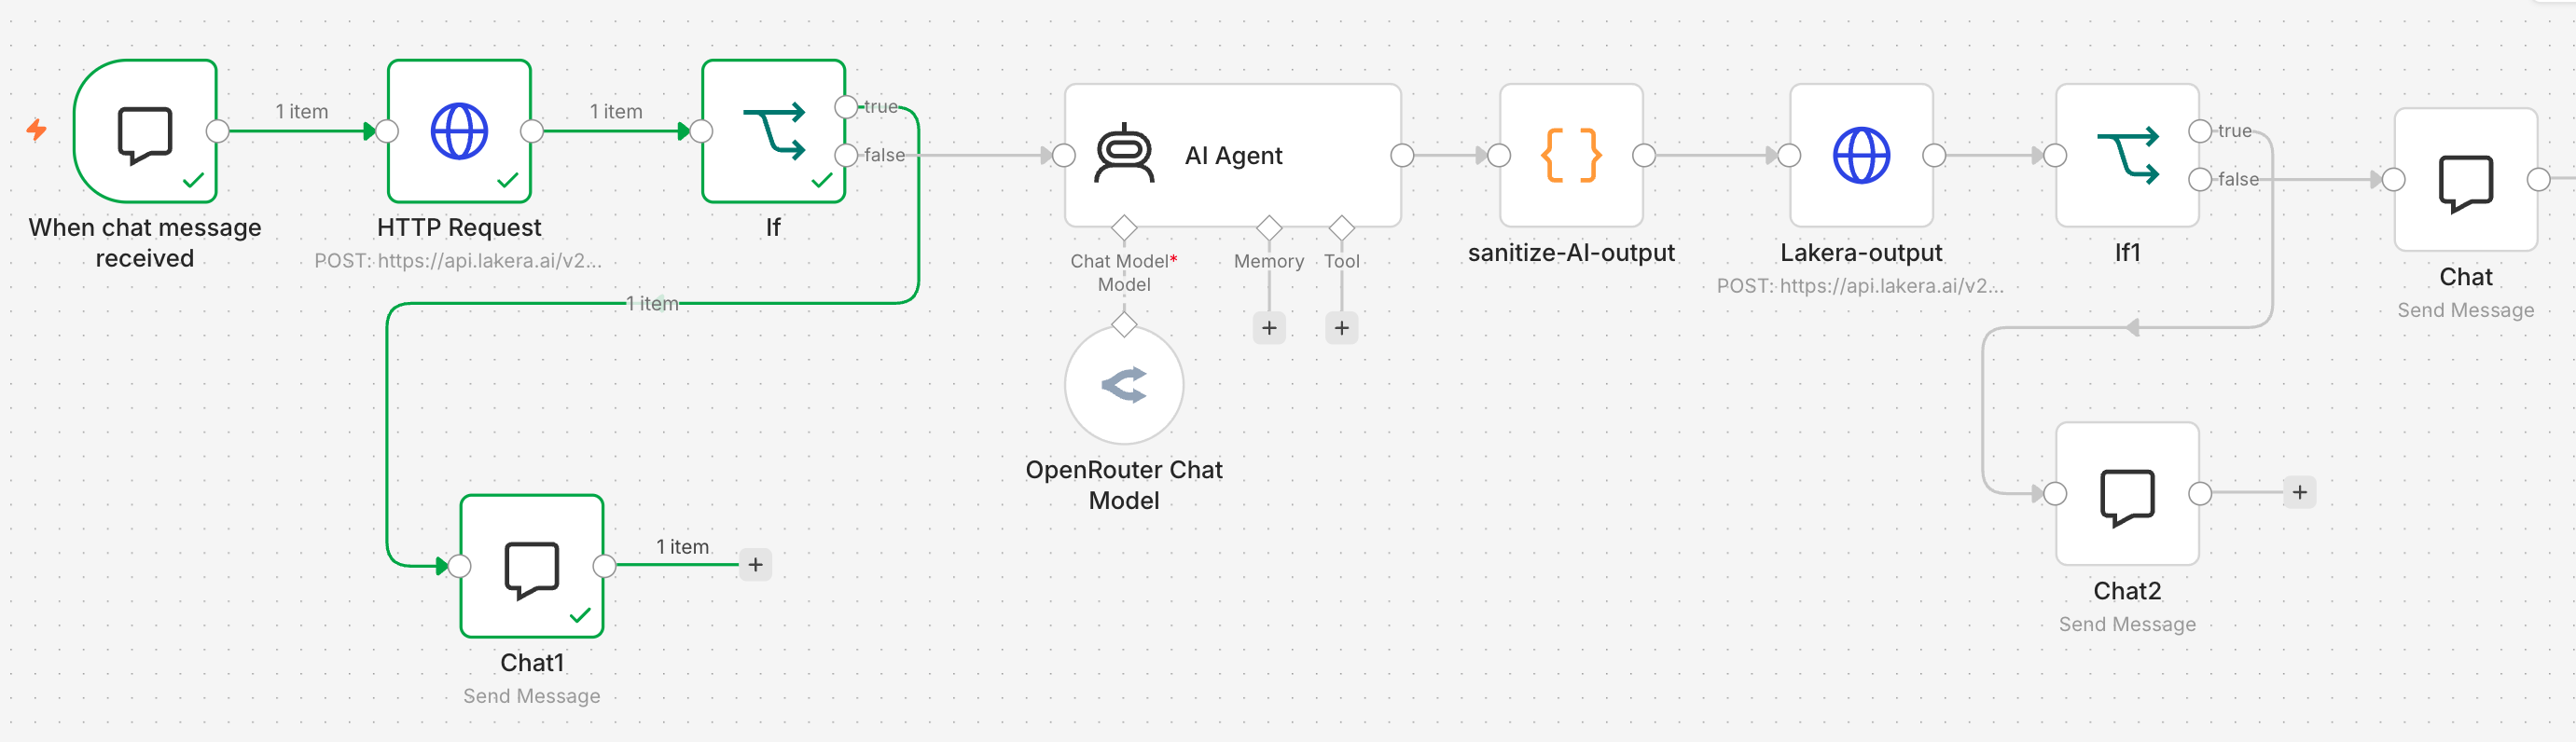
Your finished workflow should look like this:
1.5 Quick Start (TLDR)
For those who want to skip ahead or need to catch up quickly
Prerequisites
- Generate API key at https://openrouter.ai
- Generate API key at https://lakera.ai
Import Complete Workflow
Import the pre-built workflow with input and output scanning:
https://raw.githubusercontent.com/Bobes85/ITU2026/refs/heads/main/AI-agent-LAKERA-input%2Boutput.jsonBonus: Malicious Prompt Tester
A "Malicious Prompt Chat Roulette" workflow by Martin Koldovsky is available in your N8N instance. It picks random prompts from a dataset and sends them to AI Guardrails for testing.
Note: This tool doesn't use AI — it only tests the guardrails system.